2013-2018 (FIFTH GEN.) NISSAN ALTIMA – STAGE 2 DOORS, REAR DECK, & TRUNK

2013-2018 Nissan Altima Sound Deadening

Products used – Front Doors

Products used – Rear Deck

Products used – Trunk

First step is to remove the door panel. To do that, remove the small panel behind the door latch and the outer panel on the grab handle/switch panel shown in the photos below. Remove three 10mm screws. Then pull the panel off the door and unclip the attached wiring harnesses.
Once the door is removed, you will see the vapor barrier. Remove the vapor barrier to expose the outer door skin. We used about 5 CLD Squares for the outer skin. The gaps between the crash bars and outer door skin were already filled with a foam adhesive, so butyl rope was not needed. Once the outer skin is finished, we used a CLD Rectangle and 3 squares on the inner skin, sealing all of the holes and attacking any areas that might be prone to resonance.
Next up was treating the door panel. The OEM fiber mat was left intact but was pulled up in some areas to get some CLD Squares under it. For this specific car, the clips that hold the door panel together were held tightly by the door panel so they didnt need any Tesa Tape or Butyl Rope. But, there were many areas of this door panel that had the potential to cause rattles. We used Butyl Rope in a lot of spots which you will see below to prevent said rattles. Remember, make sure to really get that butyl rope under there and in between the two panels, not just sitting on top of both. That wont do much. The large white piece in the bottom right of the first photo below was removed and the area was treated with CLD squares.
After the panel was treated, we removed the handle and switch assembly and treated them with butyl rope to prevent rattles.
Next up was treating the inner door skin with our FD2 closed cell foam. We removed the top inch of the release paper and hung the FD2 and cut out all necessary areas to allow wires to pass, clips, and other misc. pieces to pass through where needed. After this, the door panels went back on and it was ready to rock!
Nissan-Altima-Sound Deadened Door-22
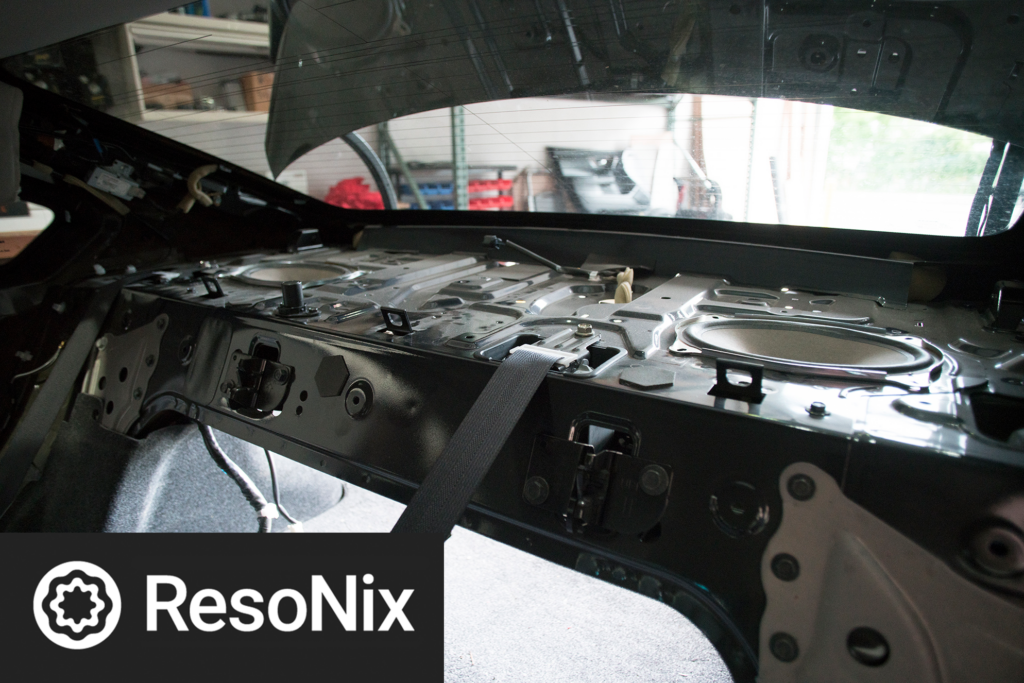
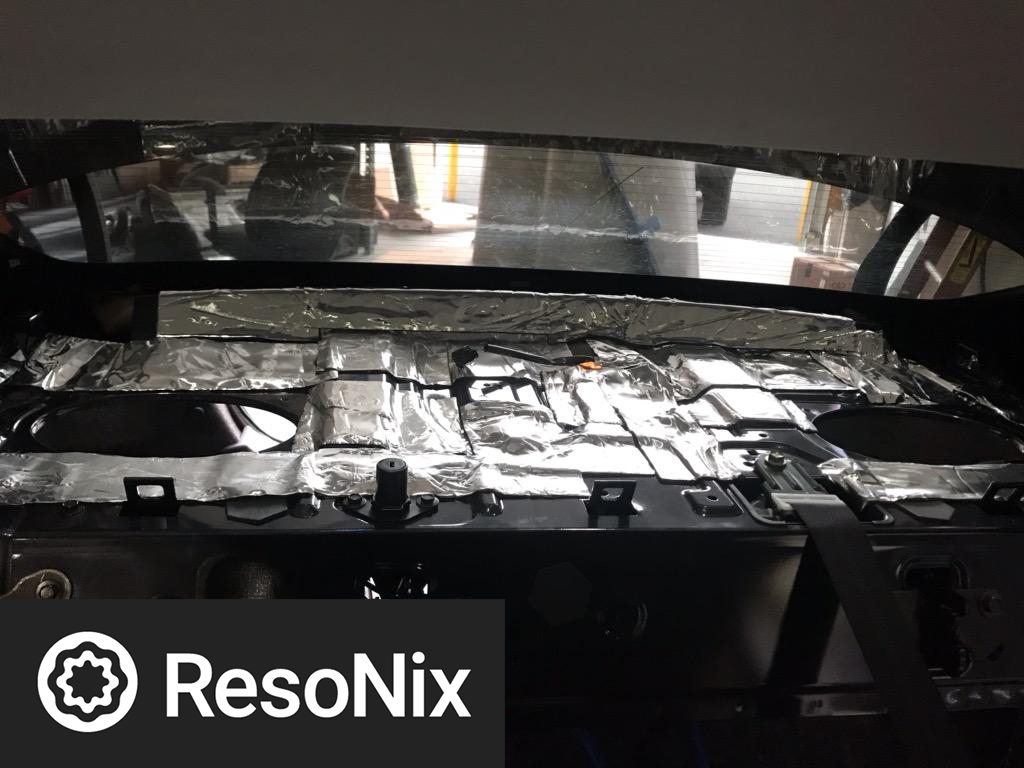
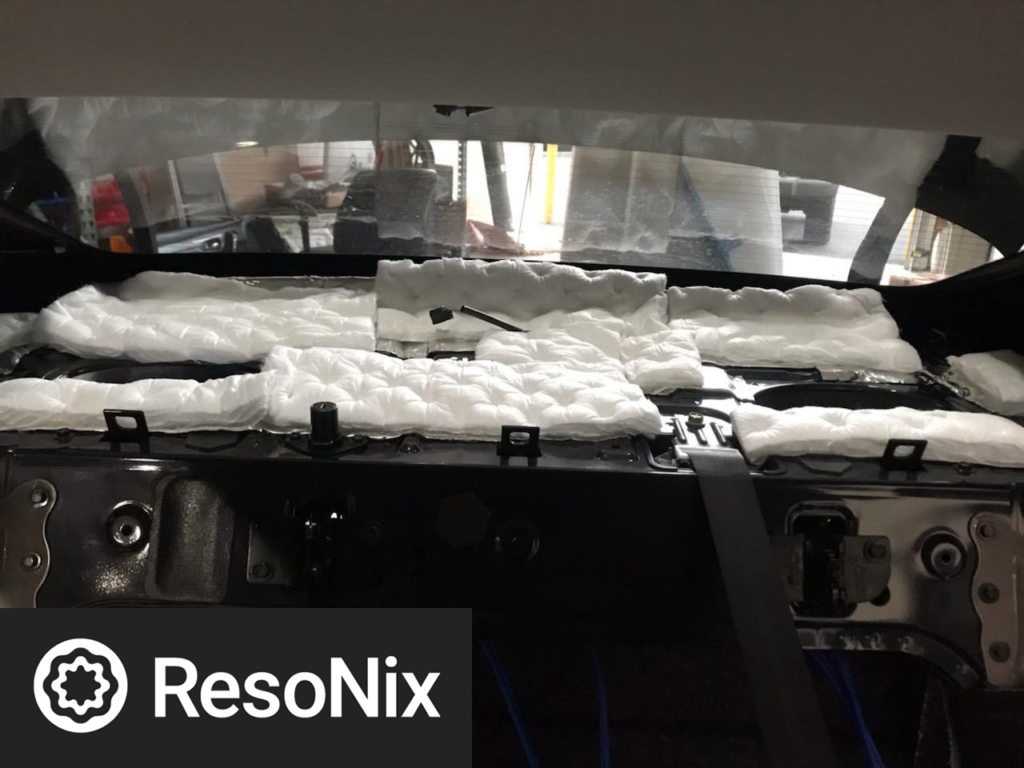
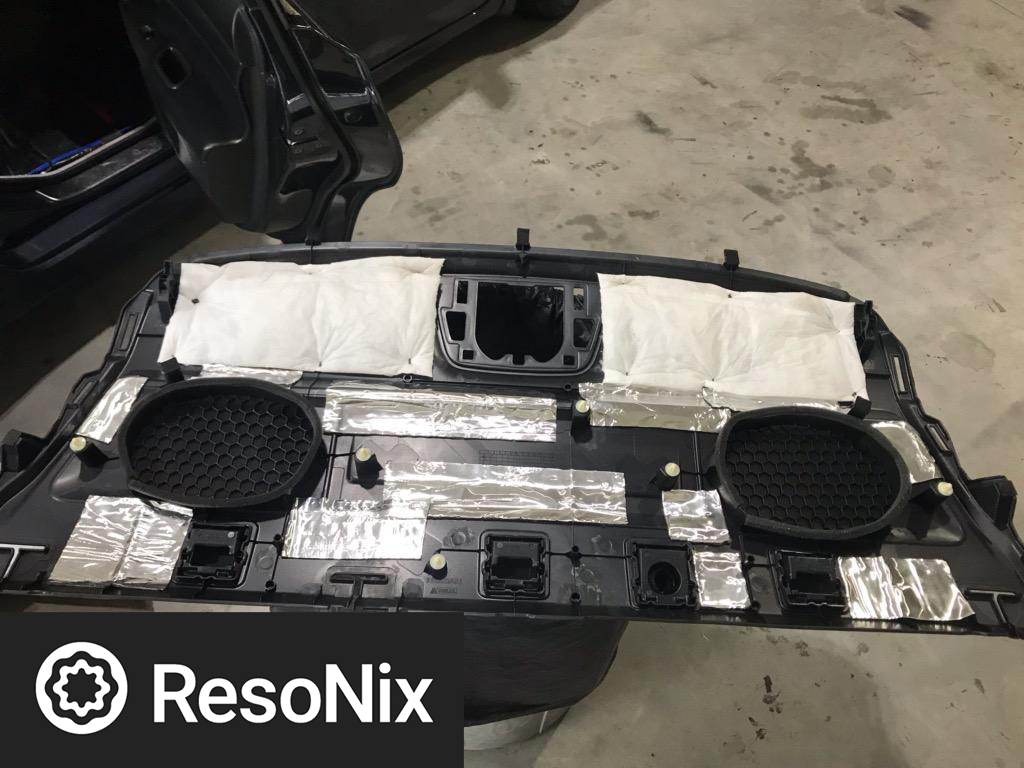
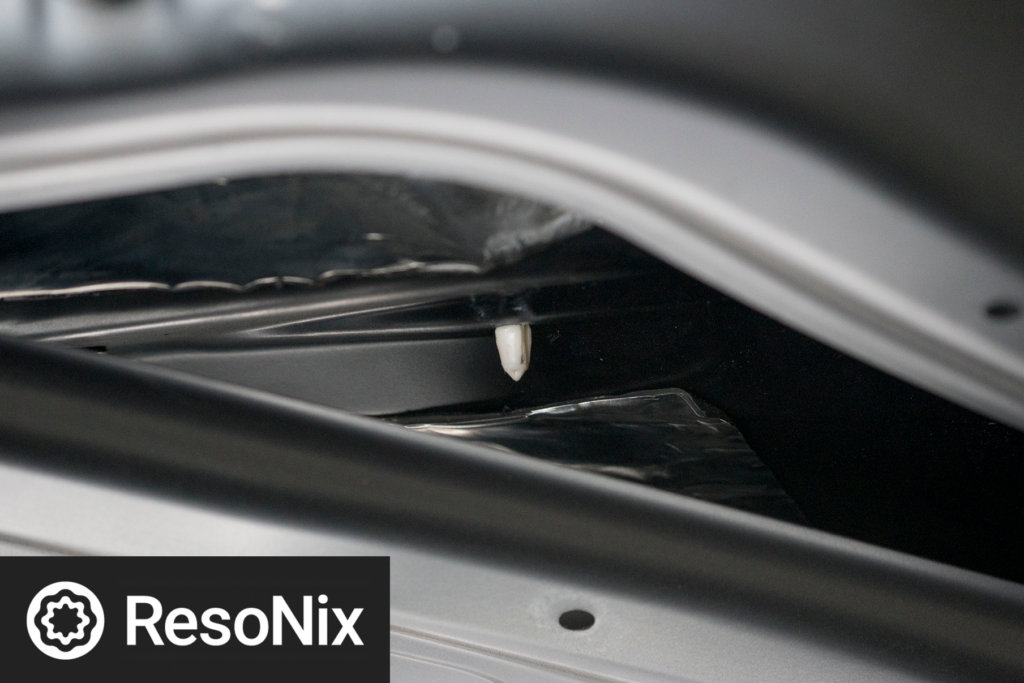
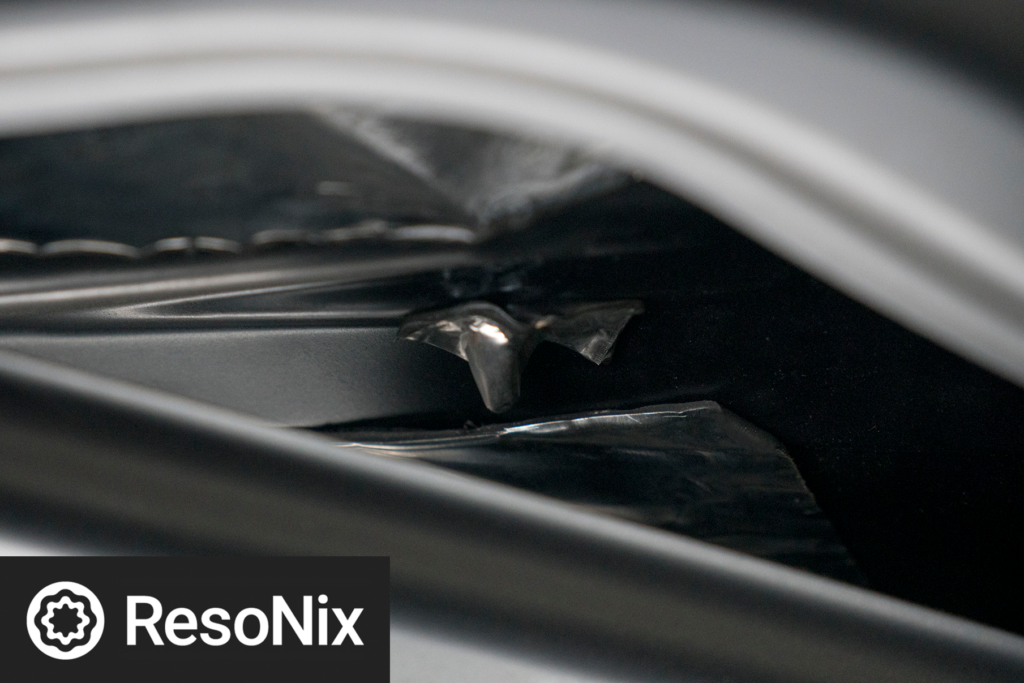
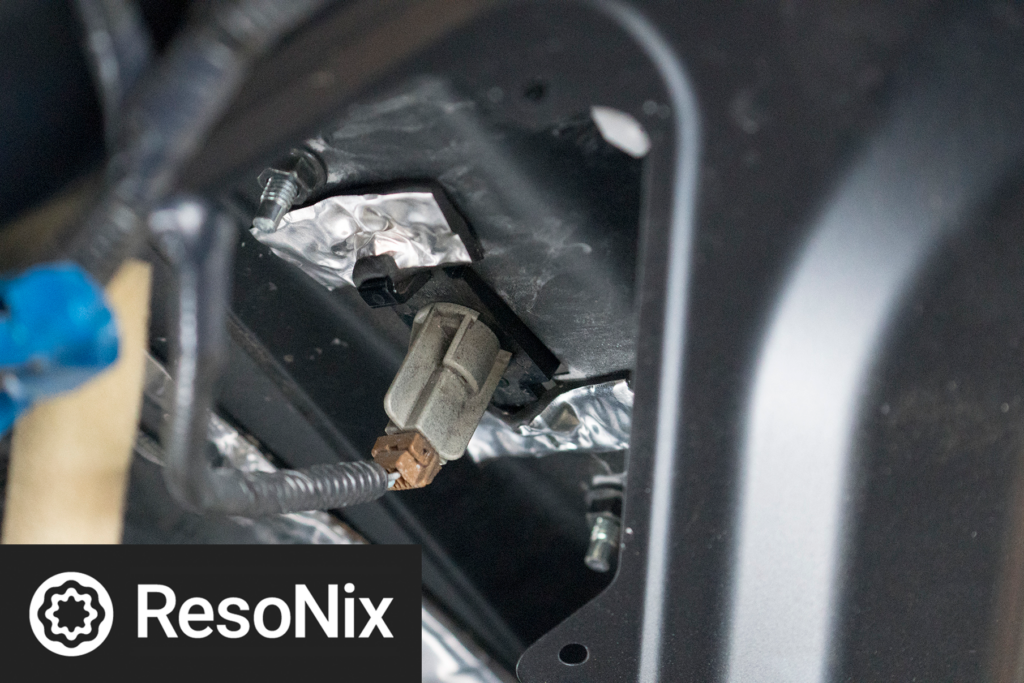
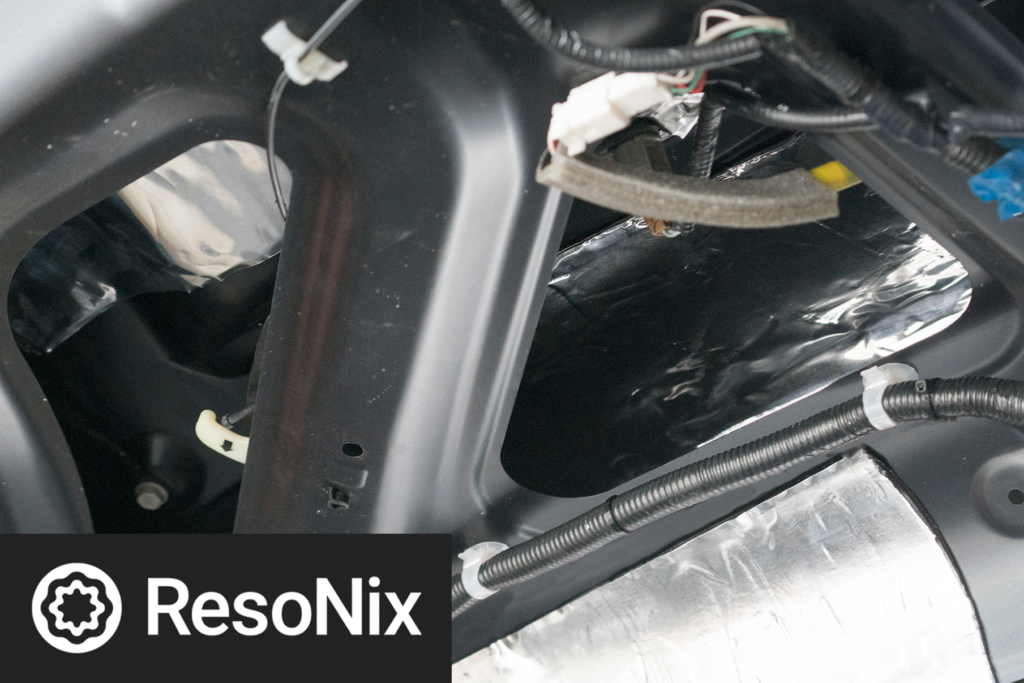
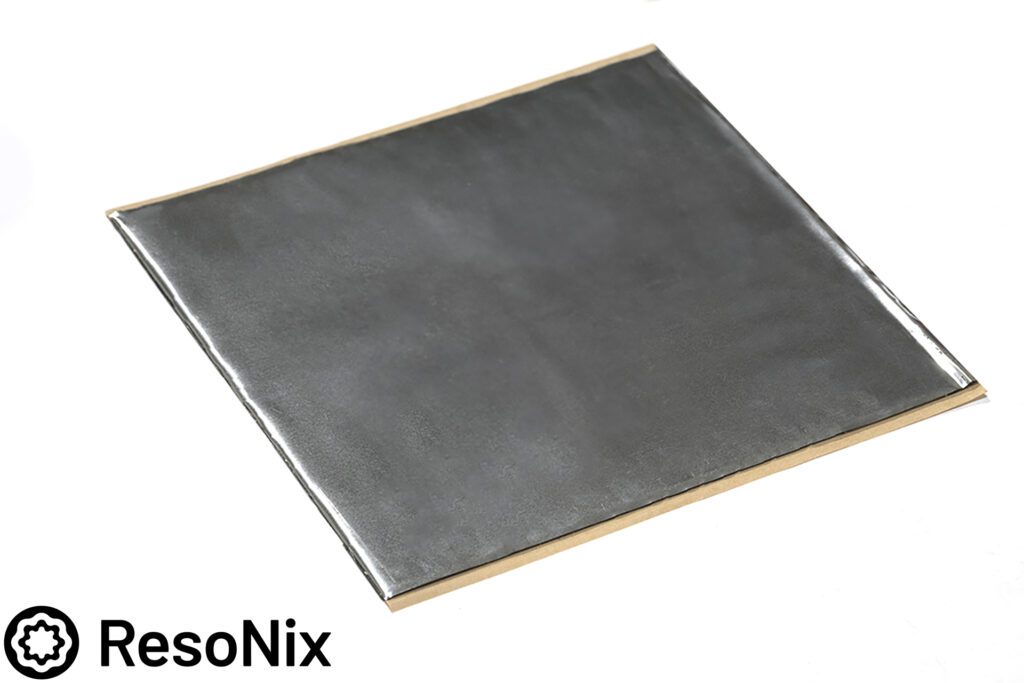
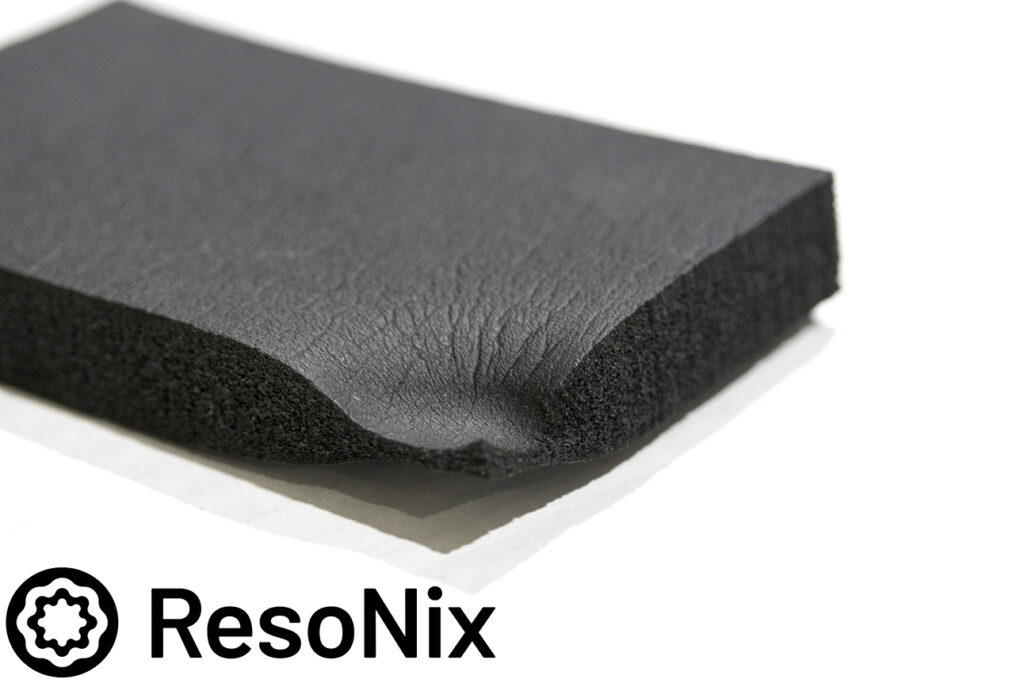
Next up was the rear deck, which was pretty simple. Unfortunately, we didnt get any pictures of removing it, but once it was removed, we took out the OEM 6×9 speakers, applied about 5 CLD Squares, then went over that with one of the samples of our soon to release ResoNix Fiber Mat. After that, the rear deck itself was treated with CLD Squares, and then was re-installed.
Next up was the trunk. We removed the carpeted trunk cover and added a few CLD Squares to the inside of the trunk, and spot treated any spots that might cause rattles like clips from the spoiler and license plate lights. After the inside was treated, we sealed the holes with CLD Rectangles and applied a couple of CLD Squares. The license plate itself was treated with a CLD Square and a layer of FD1

Installation Products

CONTACT

LINKS