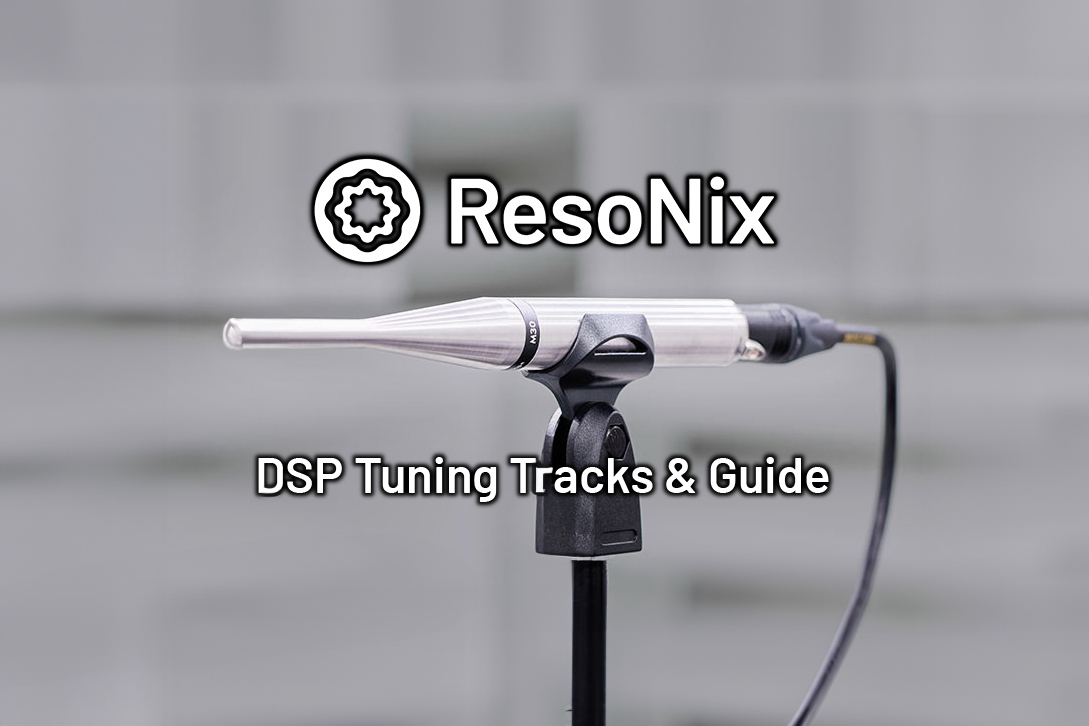
DSP Tuning
Tracks & Guide
Hey everyone, Nick here. On this page, I have a Google Drive link to my ResoNix DSP Tuning Tracks Playlist, as well as a basic DSP Tuning Guide written below. While this isn’t a full guide, this is meant to help “polish” your DSP Tune by ear. This playlist features tracks that help objectively make adjustments to your sound system via your DSP using both measurements, as well as by listening as previously mentioned.
Our DSP Tuning Tracks Playlist and DSP Tuning Guide is designed to be used in order with my tuning method.
No, this is not a full tuning guide. In order to utilize this page and our DSP Tuning Tracks fully, you will already need to know the basics of tuning, from measurements, verifying by ear, and all of the terminology and all of the basic understandings of how an audio system works.
If you are not confident on being able to do the Car Audio DSP Tuning on your own, we also offer a Remote Car Audio DSP Tuning Service
 )
) My personal quick rundown of my Car Audio DSP Tuning Process using our DSP Tuning Tracks Playlist (no, this is not a full guide)
- Mute all outputs for safety, set inputs/outputs, set crossovers that make sense for the setup, and verify all inputs/outputs are correct and all speakers are playing without issues.
- Set timing via impulse response (I personally use the Helix ATM feature). If not available, I start off by setting based on distance.
- Measure each channel’s individual response with correlated pink noise and equalize and level match based on the measurement. Adjust crossovers if necessary.
- Measure (and possibly equalize if needed) each channel one more time.
- Verify if left/right pairs of speakers are in phase/time using the first “Center” track (track 02). If they are all good, move on.
- Measure left/right/front all/all. Compare response to the last individual measurements and verify phase cohesion between speakers. If there are phase issues, correct as needed. If not or after that is fixed and measured again, equalize the overall response if needed.
- By ear, verify levels with correlated pink noise. Adjust if necessary.
- Verify broad tonality by ear with correlated pink noise. Adjust if necessary.
- Verify phase/timing by ear with pink noise. Adjust if necessary (usually it won’t need to be adjusted by much at this point, if at all).
- Move on to the “by ear” tracks
- Start with track 02 and move down the list using their descriptions.
- Listen to music, make adjustments to suit your personal taste, and enjoy!
Remember, take breaks, and it is best to wear earplugs while doing measurements in the car to preserve your ears for the by-ear adjustments. Your ears will get fatigued and lie to you.
This is a 2 minute long, -10dB (-1.01dB Peak), Random Correlated Pink Noise. This is what will be used when measuring your system with Room EQ Wizard’s RTA. Speaking of which, your RTA settings for this track should be the following. Mode: RTA 1/48th octave (save the measurement and smooth as needed in the main window, don’t limit your data out of the gate). FFT Length: 128k. Averages: Forever. Window: Hann. Max Overlap: 93.75%. These are the settings I use to tune all of my cars. This track was also generated using Room EQ Wizards built in Signal Generator.
After I am done measuring and adjusting each individual channel objectively, I use this track to verify phase cohesion from left to right, as well as through the crossovers by ear. We wont get into the details of why, but sometimes things will need to be adjusted to get the crossovers all in phase (remember, signal delay should be set before any measurements or adjustments are done).
Once phase is verified correct by ear, I take the left/right/front/all measurements and pay attention to overall response as well as double check phase cohesion through the crossover regions. This is where my measurement via microphone process ends.
After that, I use this track to verify each channels level by ear. I start with Left vs. Right levels on tweeters, midranges, and midbass. Then I listen for major tonality differences between the same sets. This is common, even if they measure the same. I Only make levels adjustments from here if needed (if it does need adjustment, it is very rarely more than a dB or so, sometimes even less), but I take note and remember any tonality differences. I personally will also make small timing adjustments based on what I hear. I ONLY suggest this for those who truly know what they are doing and are experienced tuners and understand the science behind all of this. Otherwise, you are probably hurting more than you are helping.
This track features a mans voice talking. It is in equal volume from left and right, and equal in time. That means this will, if all things are correct, form a perfect phantom center image. This is a track that I use to do a general verification of my center image, a general verification if anything sounds unnatural, etc. You can use this with pairs of speakers on their own, or all speakers playing for various verifications throughout your tuning process. I like this track because it is easy to identify when a voice sounds unnatural (although, this one is a bit on the deeper side), and has a wide range of frequencies that can highlight problems in various areas.
The unfortunate truth is that sometimes we experience issues with our website and our shipping software communicating, so sometimes tracking will not be received. If you did not receive tracking and you would like it, just shoot us an email and I can send it over.
This is the same track as the center track, but only playing from the left side. You can use this to verify the left side cohesion of your system. Verify things such as image placement and cohesion, resonance, if the left side pulls down to the midbass, if the left side sounds unnatural, etc.
For domestic orders in the continental US we will cover return shipping as well.
Same track, but due to level differences from left to right, should appear perfectly in between your far left and your center image. Note, many systems will exhibit left side stage compression (left center sounds far left, there seems to be a “hole” in the left center position of the stage), and this is a great track to verify that.
PS. Mil is not short for millimeter. Mil is a unit of measurement that is one-thousandth of an inch.
Yes, center again. Like I mentioned above, this playlist is in fact perfectly in order. Why do I have center at the start and center here? So after you listen to pink noise, you can verify your center image, and then from there you can verify your staging across the board and can do so without having to skip back and fourth. This is just here to make things easy.
Yes, center again. Like I mentioned above, this playlist is in fact perfectly in order. Why do I have center at the start and center here? So after you listen to pink noise, you can verify your center image, and then from there you can verify your staging across the board and can do so without having to skip back and fourth. This is just here to make things easy.
Same track, just placed directly in between the center and far right image.
Same track, use to test the right side for the same things mentioned above
This is a “polarity pulse” type track. I only use this when I am having issues with verifying imaging with the above “Center” track if I am ever having trouble for whatever reason, usually due to reflections in an install that has compromised speaker locations. In that situation, I would set signal delay with impulse response or tape measure, and then verify with this track, and then check for natural reproduction with the Center track.
I rarely use this track, but it is nice to have for soundstage placement verification, and also check that left-center soundstage compression that I mentioned earlier (or right side if you are in a right hand drive vehicle). The downside to this track is that there is hardly any low frequency content, so this track may not expose everything.
Use this track for two things. To tune your differential rear fill (correlated pink noise will be cancelled with differential signal), and to compare your “full system” measurement from correlated to this. The difference will be able to show where you have cancellations in the correlated measurement that may need to be addressed. I personally don’t use this method as I have another method that works faster for me (it is more complex and tricky to follow, but it is quicker for me personally).
Just like the tracks above, this and the following will be positioning tracks. The difference is, these ones are a bit quicker, and feature a wide array of instruments to help isolate frequency ranges. This allows you to verify positioning more finely for these different frequency ranges as opposed to a broad-spectrum generalization. Use these to verify tonality as well, and to also check for rattles and resonances, harshness, sibilance, etc. These tracks are with very easy to recognize instruments so it should be easy to know if they sound at least close to correct or not.
Same as above, just plays left only.
Same, but should be directly between center and far left.
Again, to not have to skip around.
Should be positioned directly between center and far right
Right only. Again, verify right side cohesion and tonality.
YOU MADE IT THIS FAR! Awesome! If your system exhibits no signs of any technical shortcomings when you get here, that is great. The next portion is where the very small things that I feel separate a technically good system from a technically great system.
The rest of the tracks are all band-limited, third-octave pink noise tracks. What I do with these is very simple. The first step is to match levels of these frequencies by ear from left and right. For left to right level matching I start a few tracks lower than my midbass high pass crossover. I will play only one speaker at a time, but quickly switch back and fourth between the left and right speaker to see if I can hear a level difference between the two. If there isn’t a difference, I move on to the next frequency. If there is an audible level difference, I will take away from the louder side, and equally add to the quieter side. This way you can balance left and right while still keeping the overall frequency response the same. Once they are level matched from left to right, I run through them again and double-check. During this process, I do NOT pay any mind to imaging cues. I only pay attention to left vs. right levels per frequency range.
Next step, run through all tracks again. This time, with both sides playing. You can do the front speakers all together, or just one pair at a time (midbass only, midrange only, tweeter only, etc.).. When running through this, you will verify one thing only.. center image cohesion per frequency. Since we know timing and levels are damn near perfect at this point, any imaging issues that stick out can help identify installation or speaker location (reflection) issues that are causing issues in your system. How you deal with them from here is difficult to say. Every situation is different, and this article is not the one where we are diving into those super-fine details.
Next step, run through them again, this time, pay attention to frequency response. They should all be very similar in level. If there are drastic jumps from one track to the next, make adjustments as necessary. TWO THINGS TO NOTE.. First, 2kHz – 5kHz will ALWAYS sound hot. Do not cut too much from here or else it will end up sounding dull. Second, do not make too many adjustments with this method to try to “flatten” out frequency response. This will not yield an accurate system as we would be trying to counteract the Equal Loudness Contour that is already a part of our human hearing system. Only use this final step to see if you can hear drastic jumps in ranges outside of the 2khz – 5khz range.
That’s it, this pretty much sums up the tuning process for me. The only thing I do from here is to listen to music and make adjustments based on preference and occasionally to something that sticks out that wasn’t noticed previously. I hope this helps. Happy tuning!
-Nick Apicella
ResoNix Sound Solutions
Be sure to check in for more content added to our Resources category, including our ever-growing and evolving Reference Information & Guide page, the ultimate automotive sound treatment resource.
