Polaris Xpedition XP5 Sound Deadening Noise Reduction Kit
Improve your Polaris Xpedition experience with the ResoNix Polaris Xpedition Sound Deadening Kit. One of the biggest complaints with these UTVs is the excessive engine noise that fills the cabin. This kit was developed to directly address that issue and make your rides more comfortable and less fatiguing without taking away from the vehicle’s performance or rugged feel.
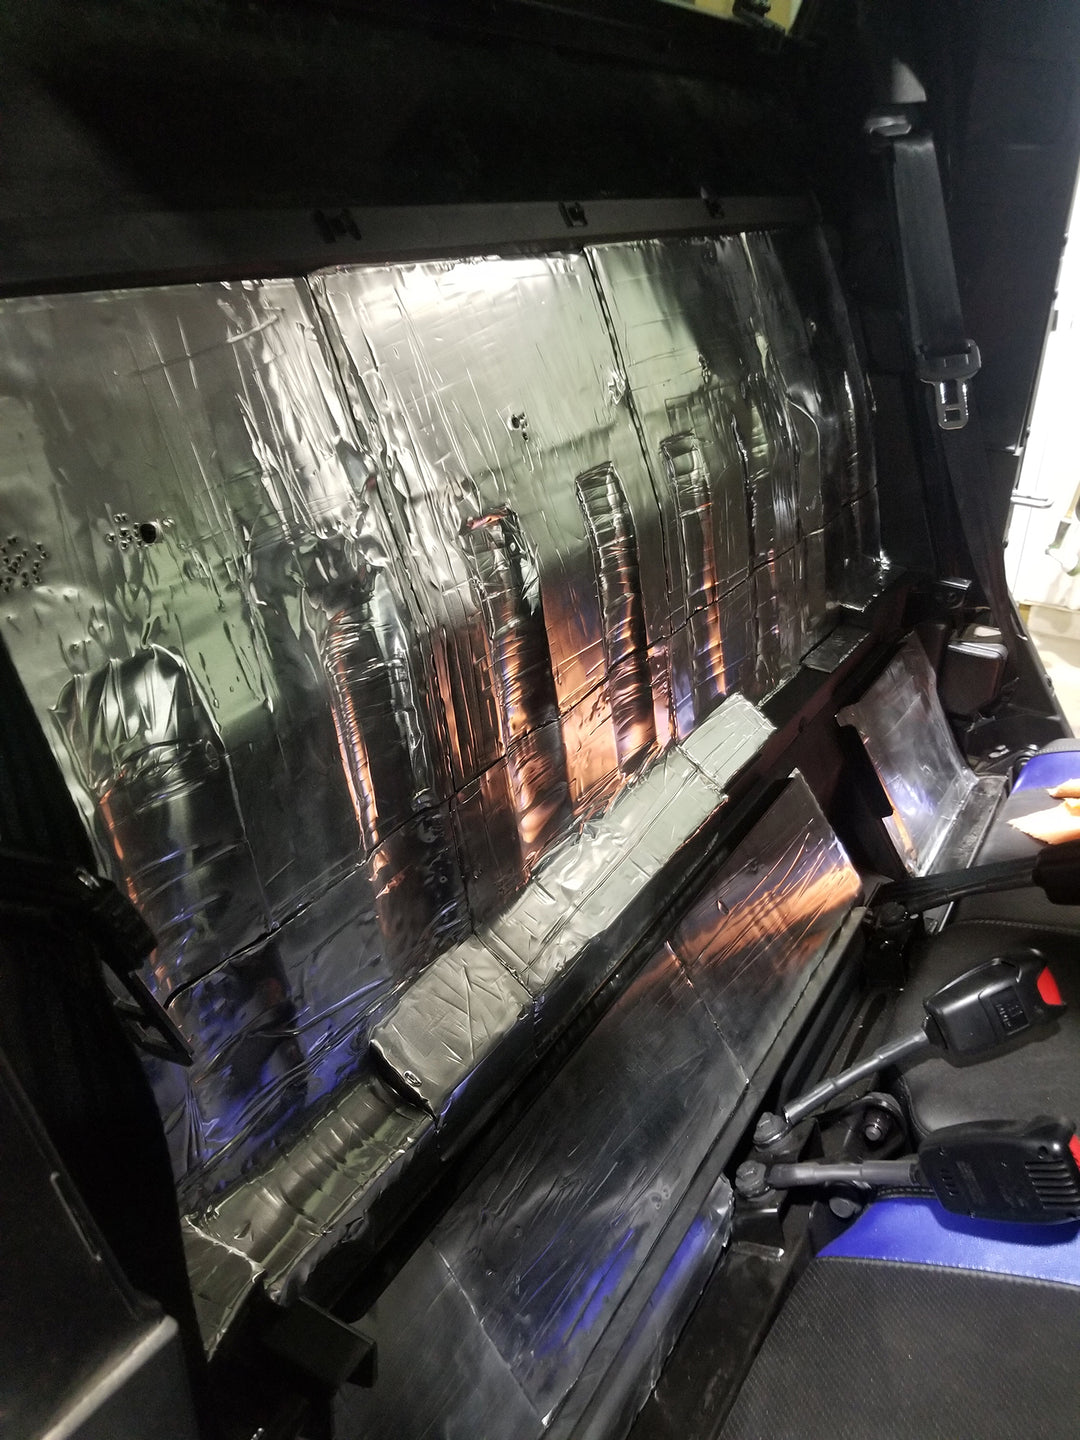
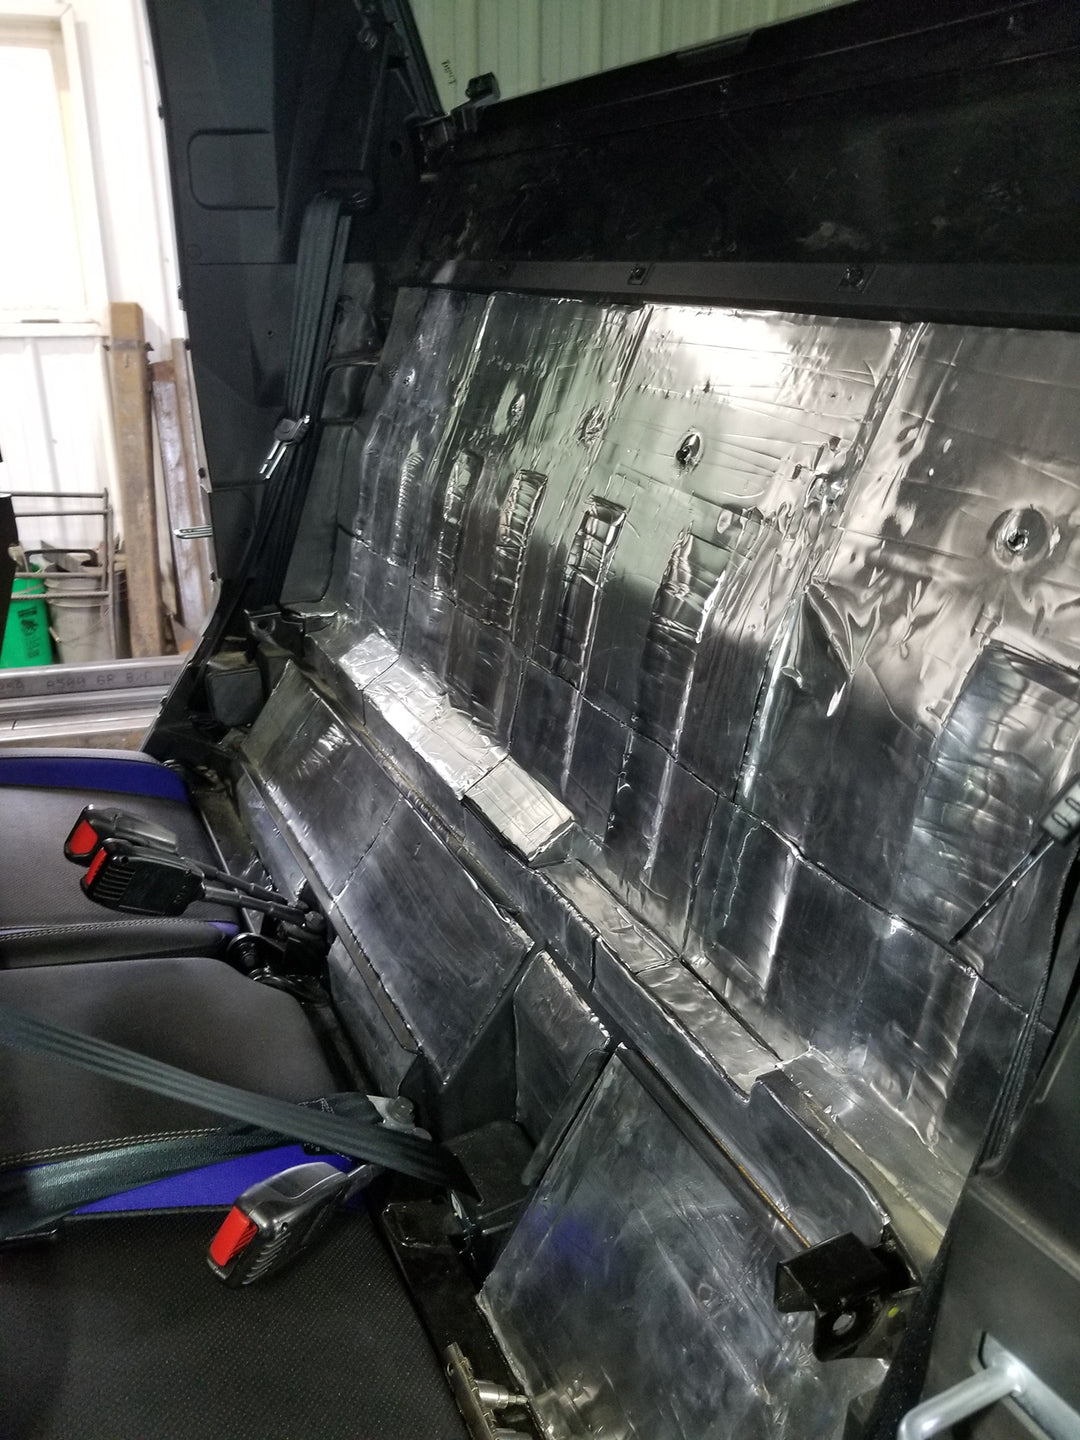
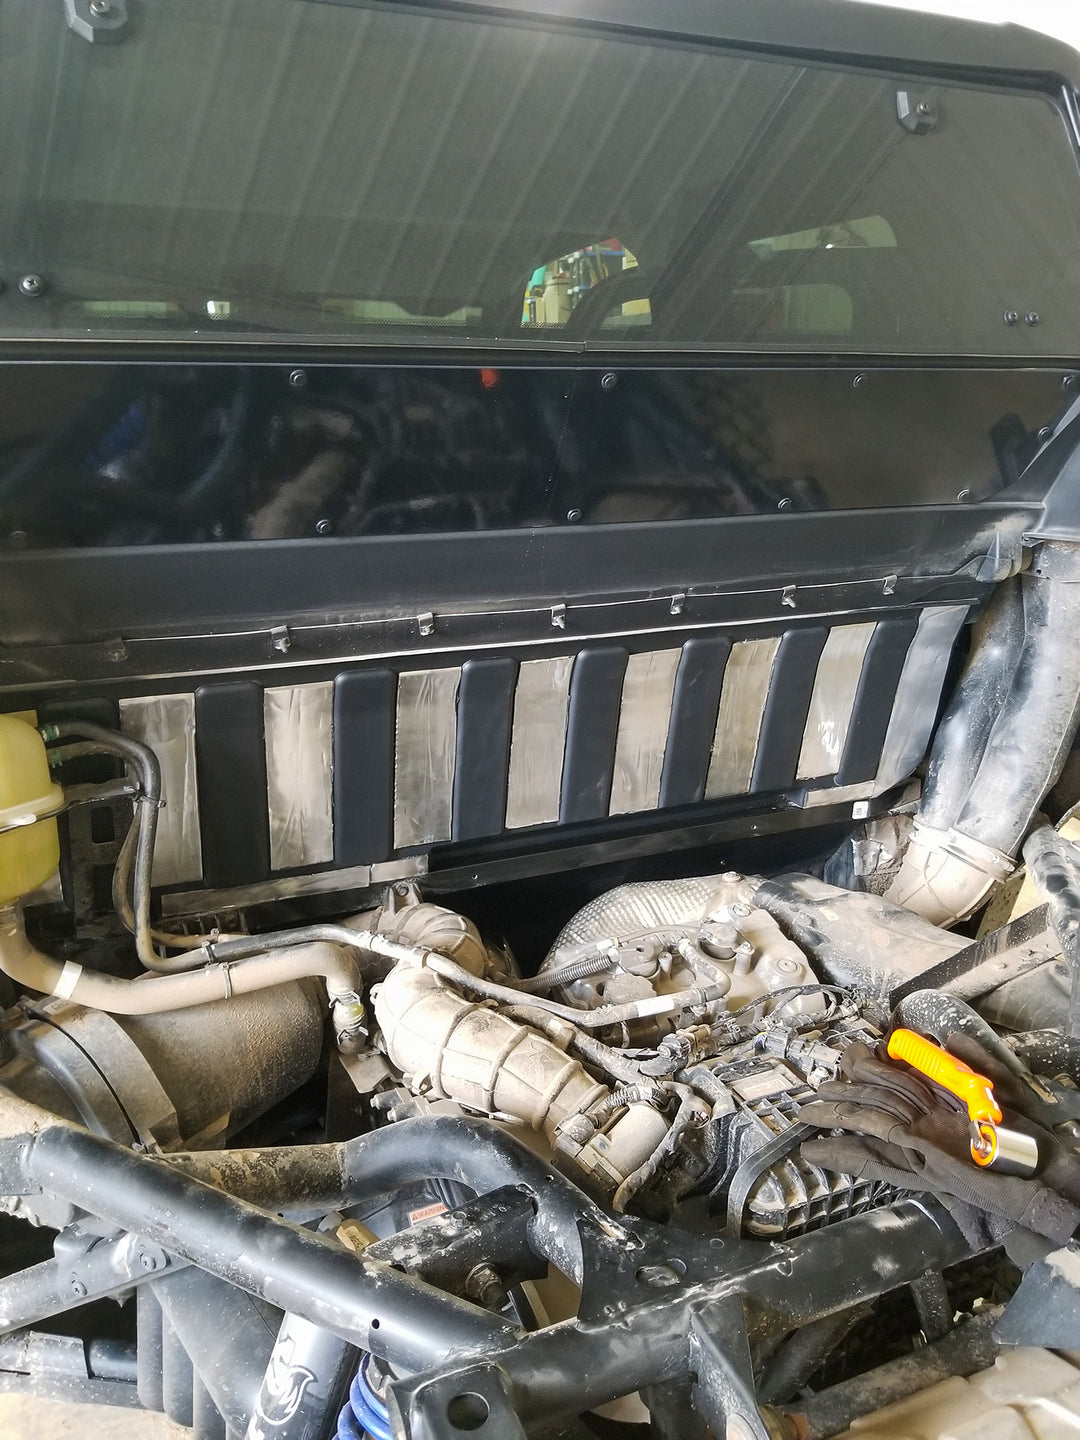
This specific kit was built using the exact model shown in our product photos. We carefully treated key areas using a combination of ResoNix damping, absorption, and barrier materials to reduce engine drone, panel resonance, and high-frequency noise. The result is a noticeable drop in cabin harshness, letting you enjoy the ride without constant noise wearing you down.
Please note that this kit was only tested and confirmed on the model pictured. We cannot guarantee fitment, installation ease, or performance on other Polaris Xpedition models or trims. Some adjustments may be needed if you’re working with a different version.
Installation and Compatibility
The ResoNix Polaris Xpedition Sound Deadening Kit is currently designed and spec’d for a straightforward installation process in the XP5 variants. The other variants have not been tested yet. If you have a Polaris Xpedition that isn’t an XP5, feel free to reach out and we can help determine if this kit will work for you.
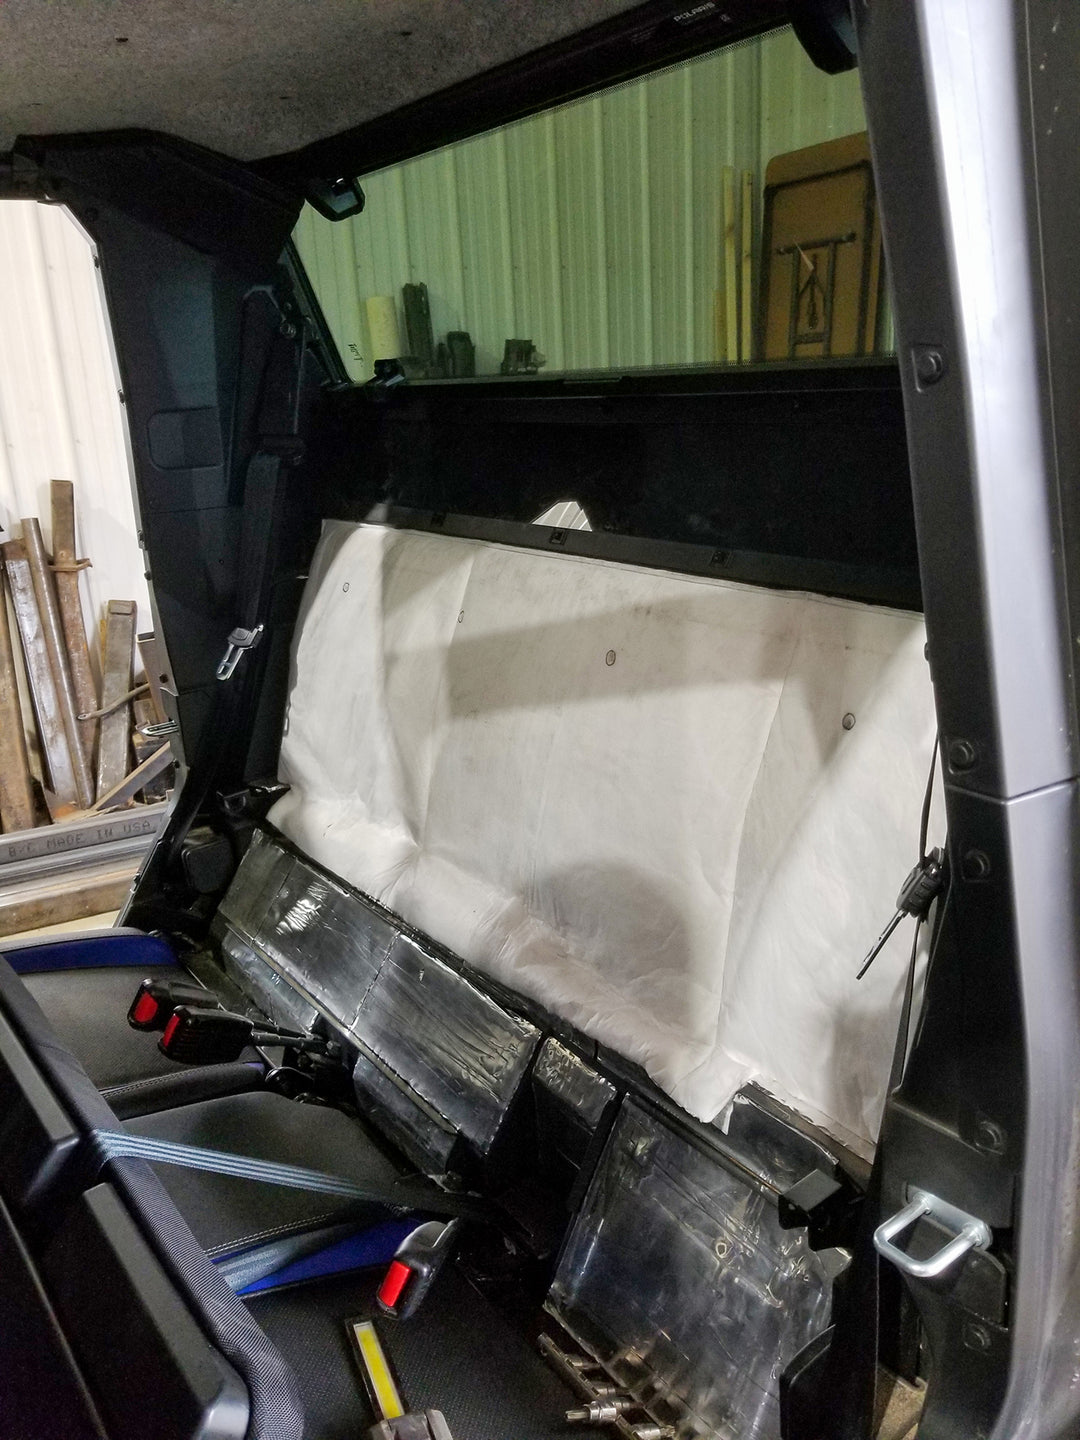
This kit can be seamlessly integrated into your UTV, attaching to both the inside and outside of the rear firewall for optimal sound suppression. This meticulous design ensures that your adventures in the Polaris Xpedition are nothing short of extraordinary, focusing on the joy of the ride without the distraction of noise.
How To Install The ResoNix Polaris Xpedition Sound Deadening Kit
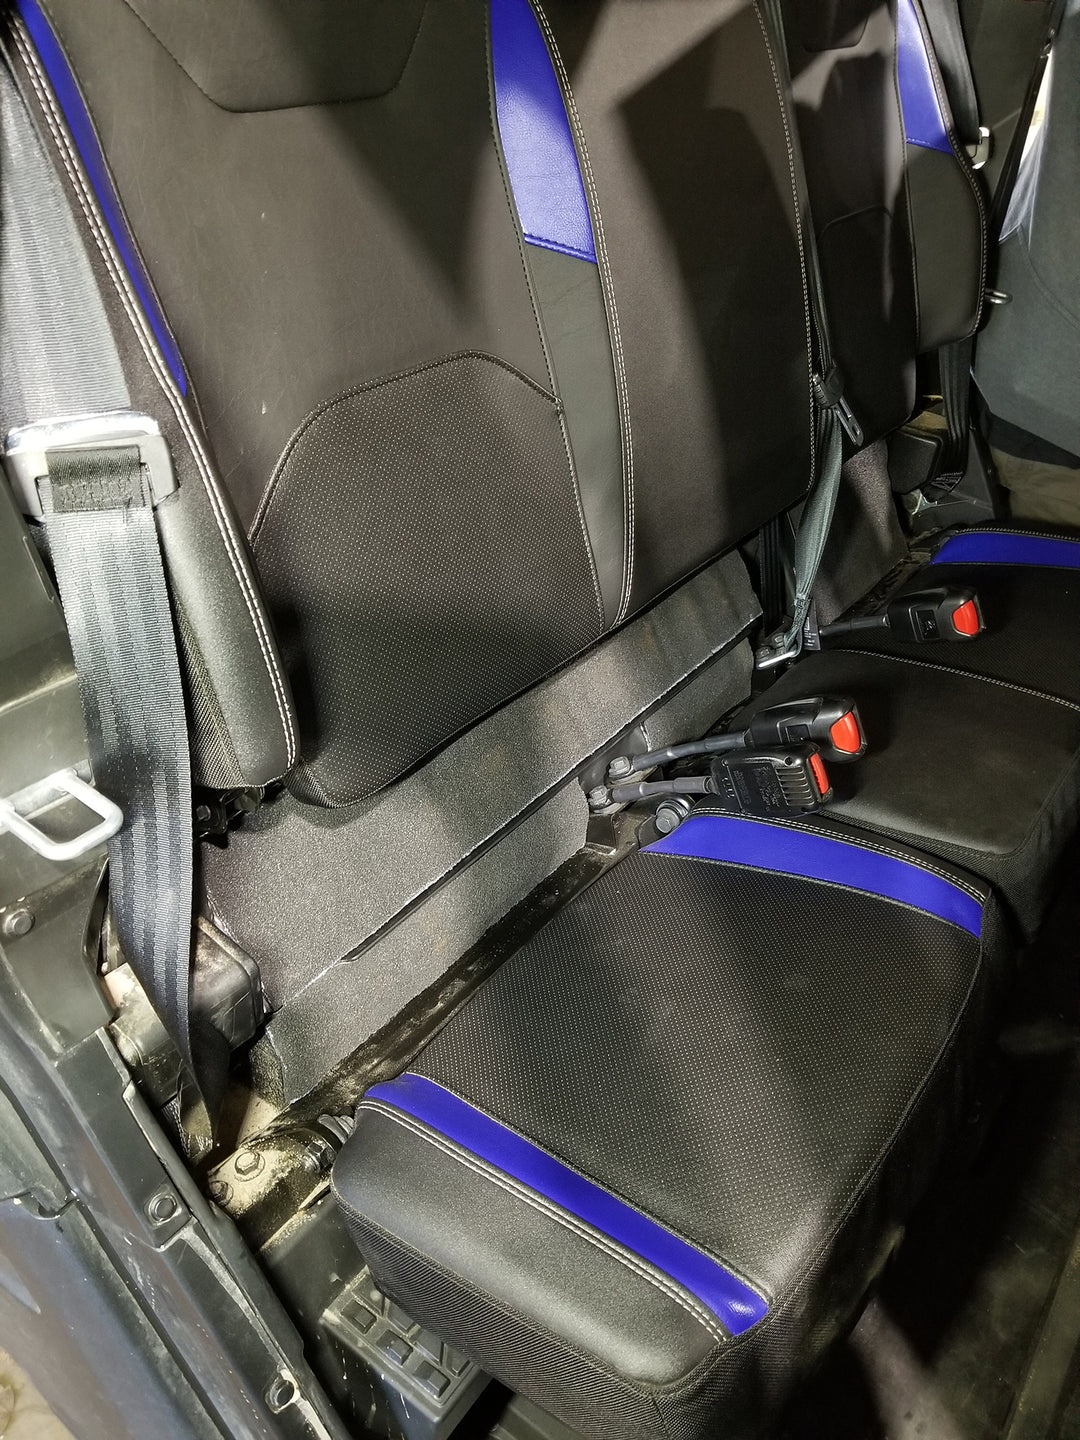
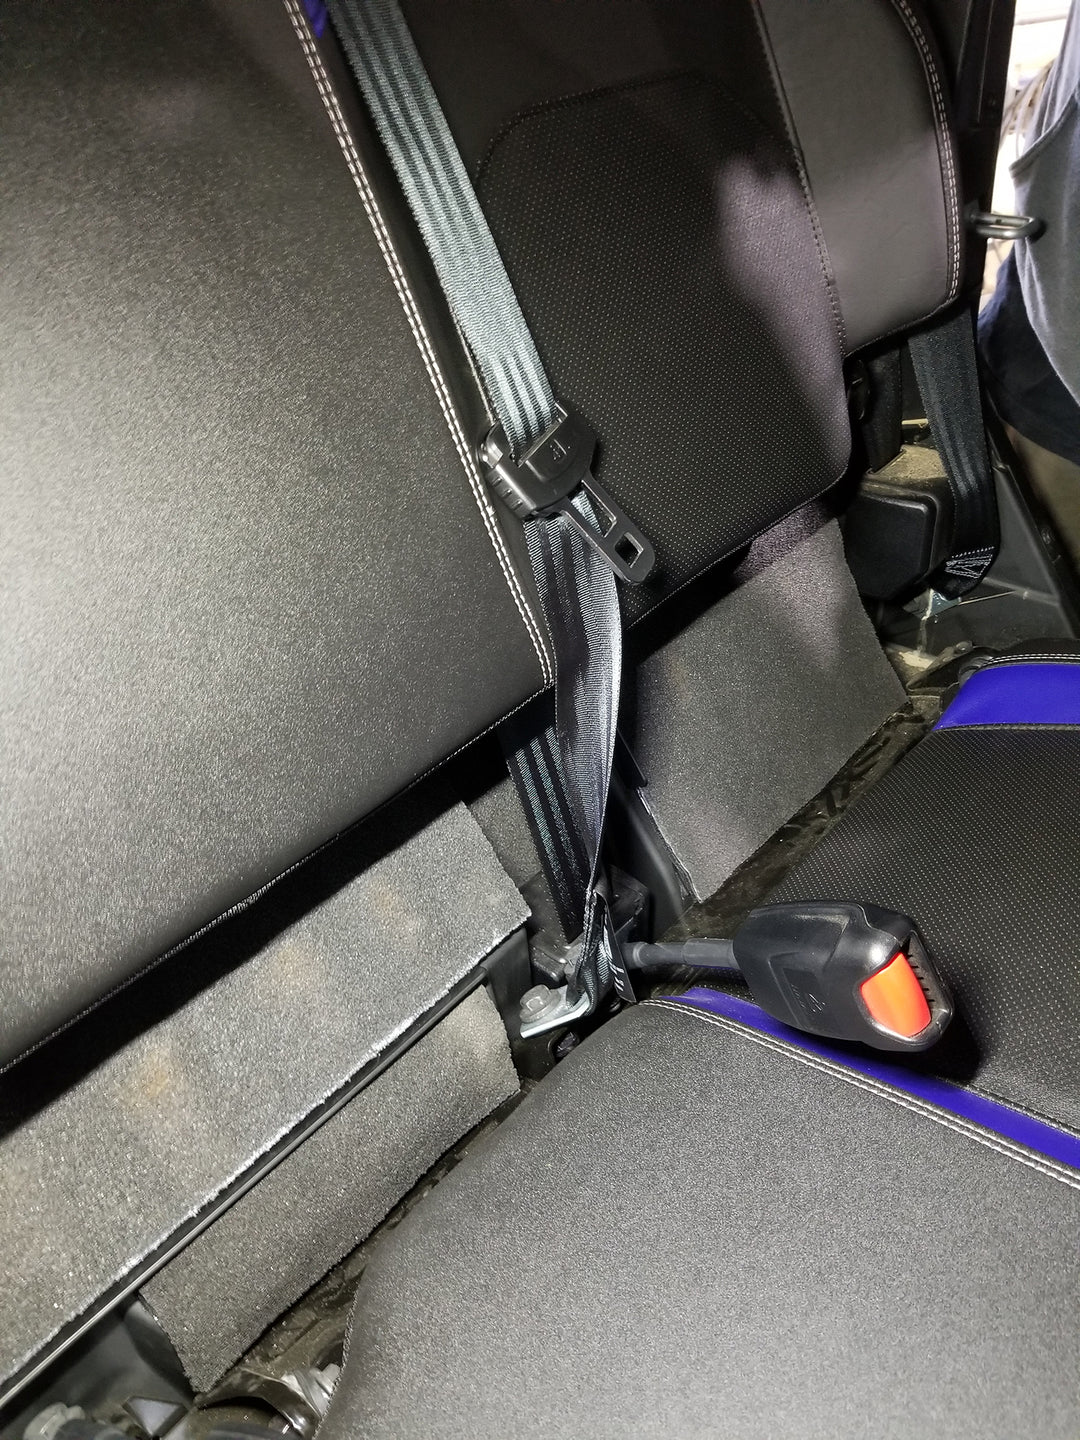
- Remove rear seat back to gain access to the firewall.
- Remove OEM carpet that covers the firewall
- Clean panel with isopropyl alcohol and a clean towel to remove any dirt and oil.
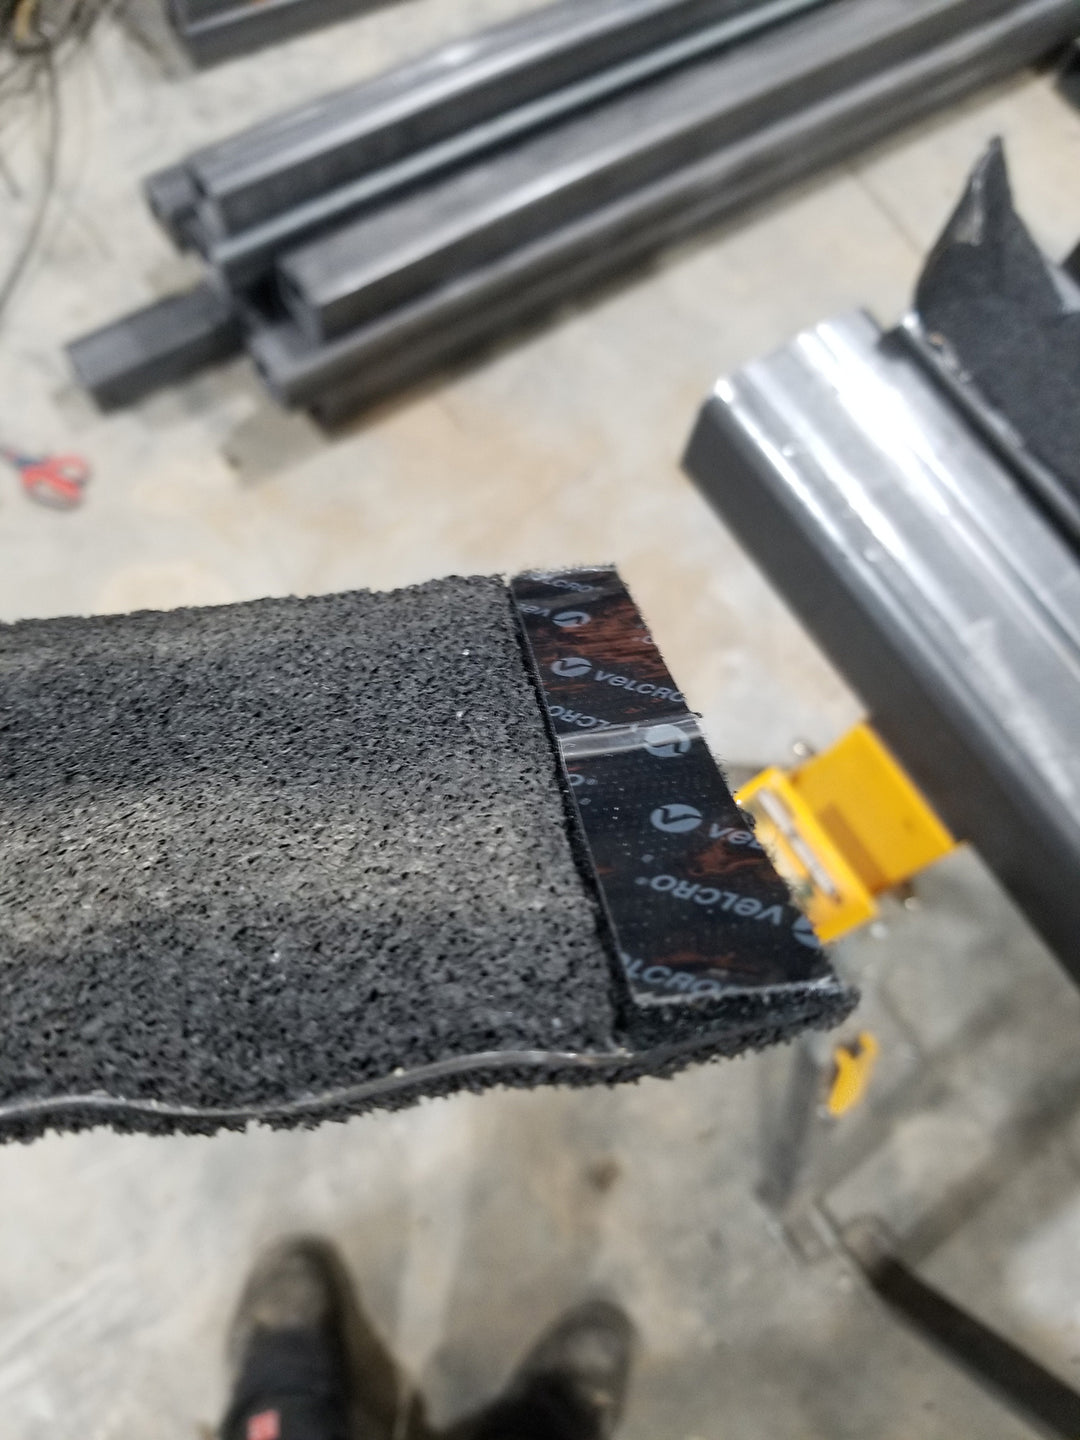
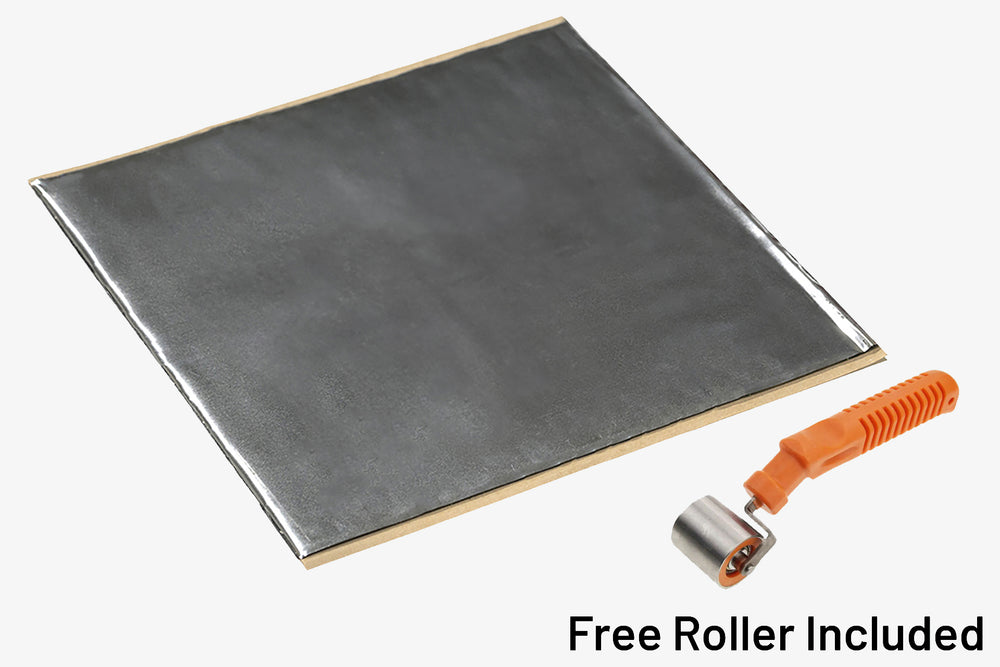
- Install ResoNix CLD Squares directly onto firewall. Use the supplied Roller to apply pressure and roll out any air bubbles. No need to apply as much force as possible. Just enough to achieve full coverage adhesion.
- Cut and trim ResoNix Fiber Mat to shape of the entire firewall, and install it using its peel and stick adhesive backing directly on top of the ResoNix CLD Squares.
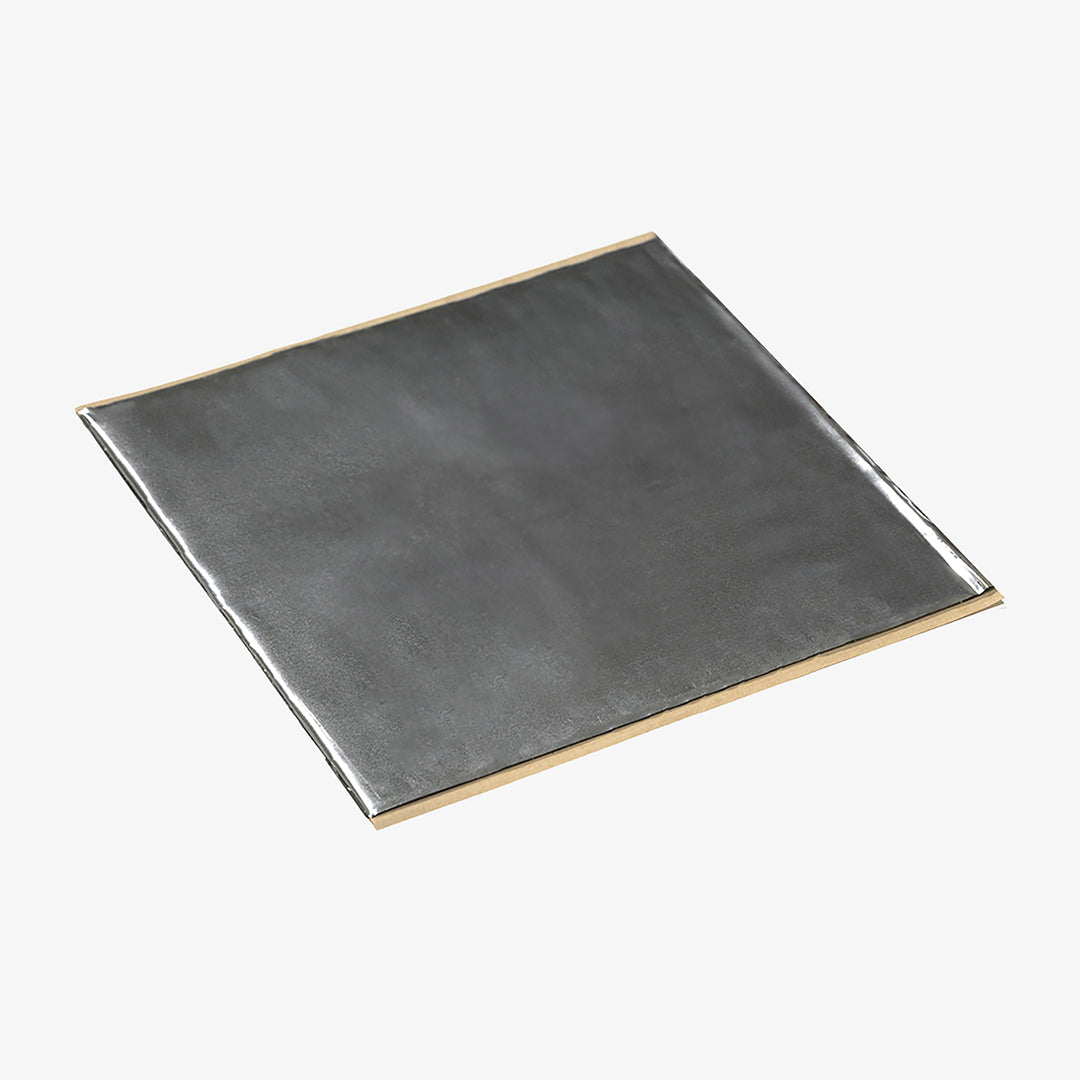
- Cut and trim ResoNix Barrier to cover the entire fire wall on top of the Fiber Mat. This does not have an adhesive backing and will secure using the OEM fasteners.
- Reinstall OEM carpet and secure with OEM fasteners.
Note: Some situations may require bolts that are longer than the ones included from the factory.
Optional: Using any left over ResoNix CLD Squares, install it to the engine-side of the firewall.
Note: Make sure you make cut outs to account for any fasteners, hardware, etc.