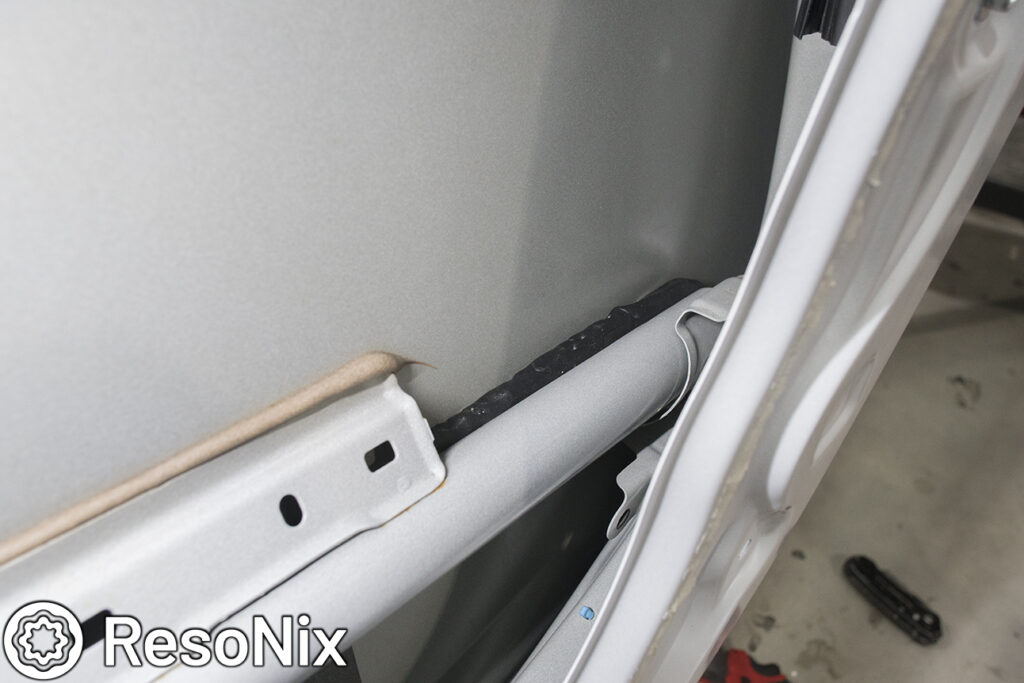
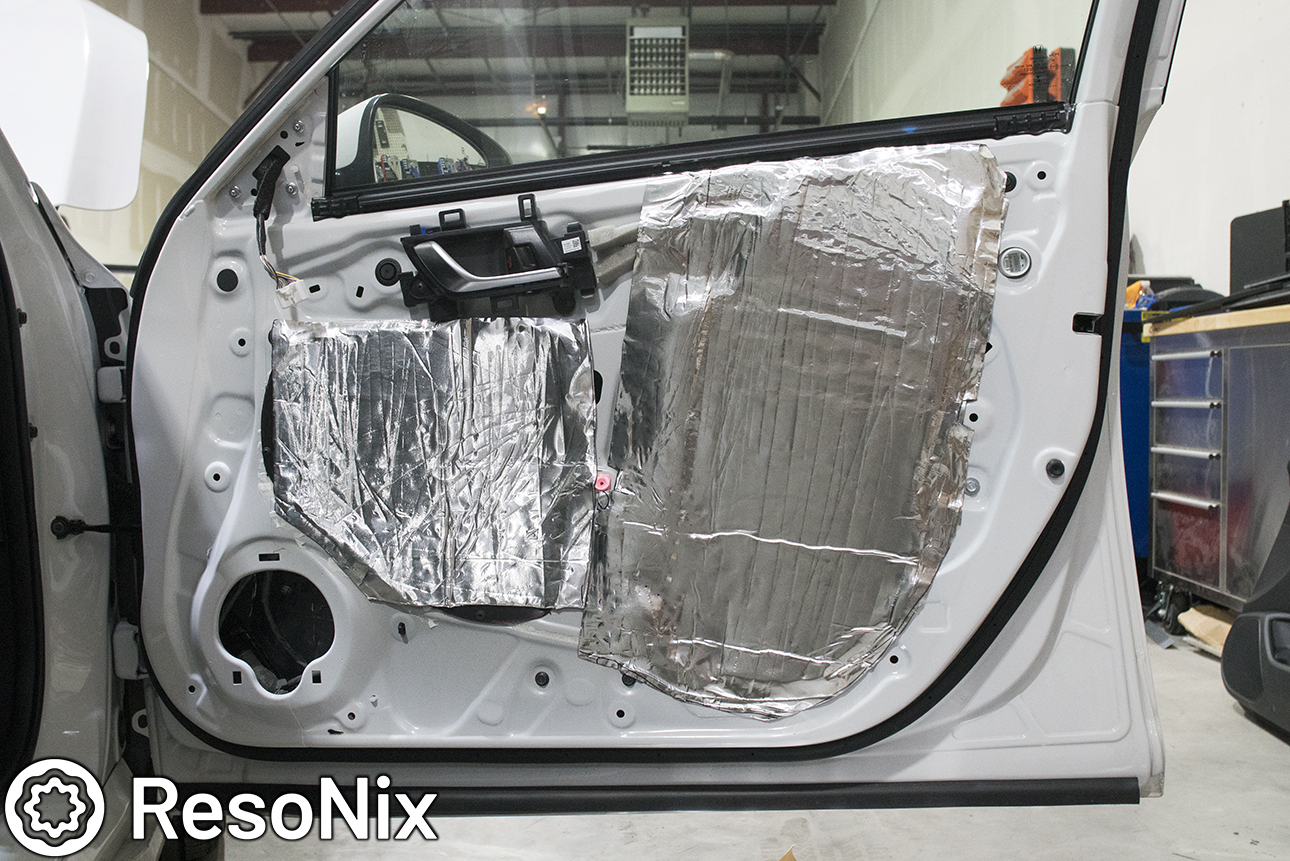
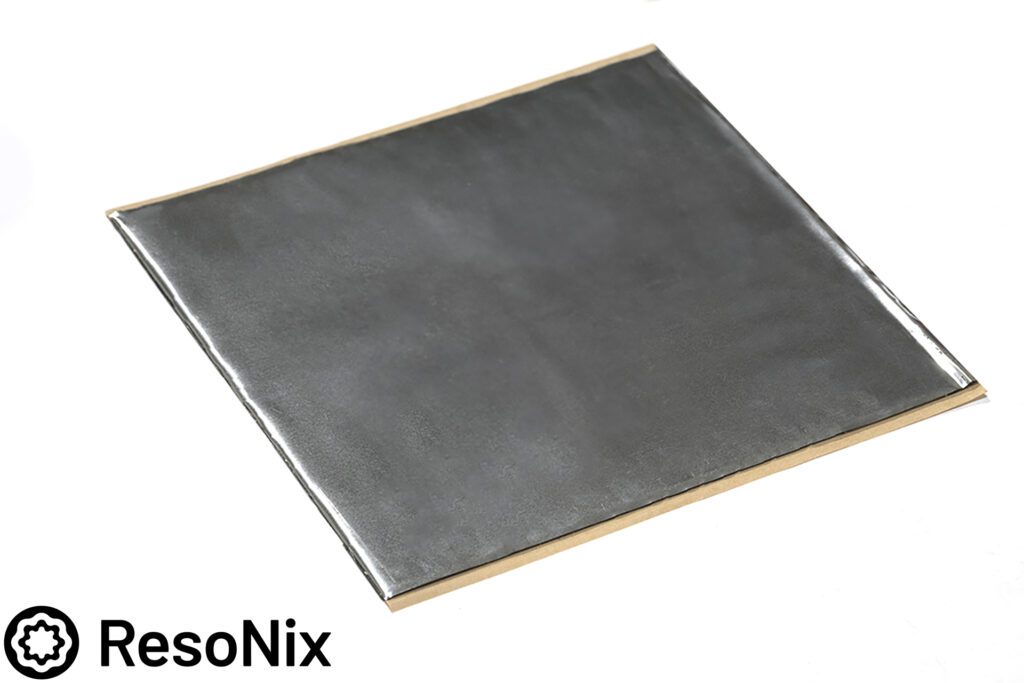
A healthy amount of ResoNix Squares was applied to the outer skin.
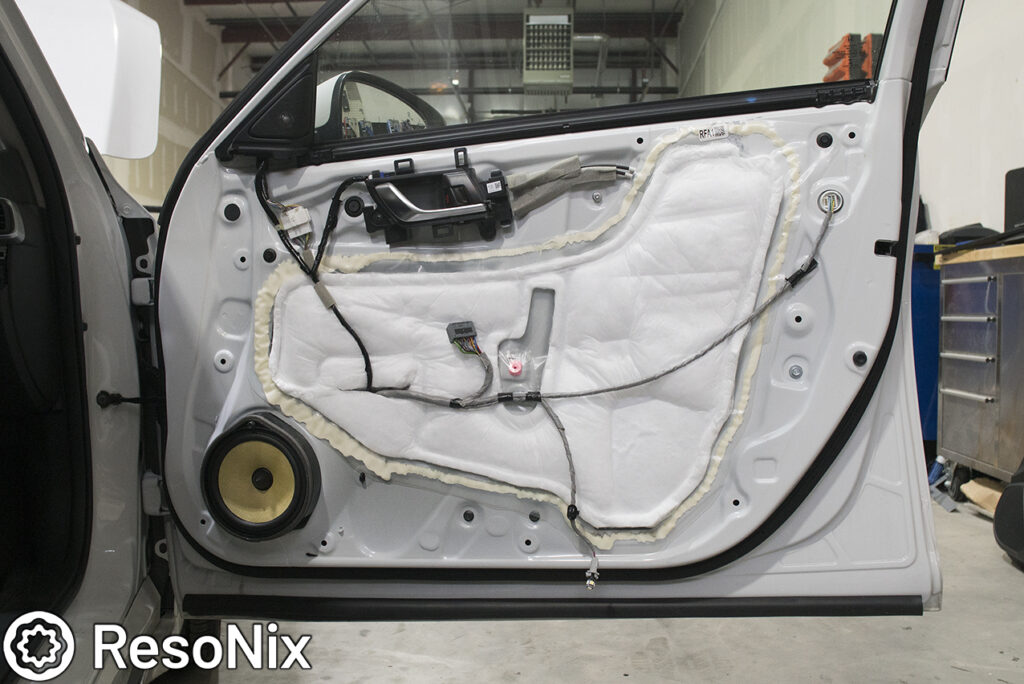
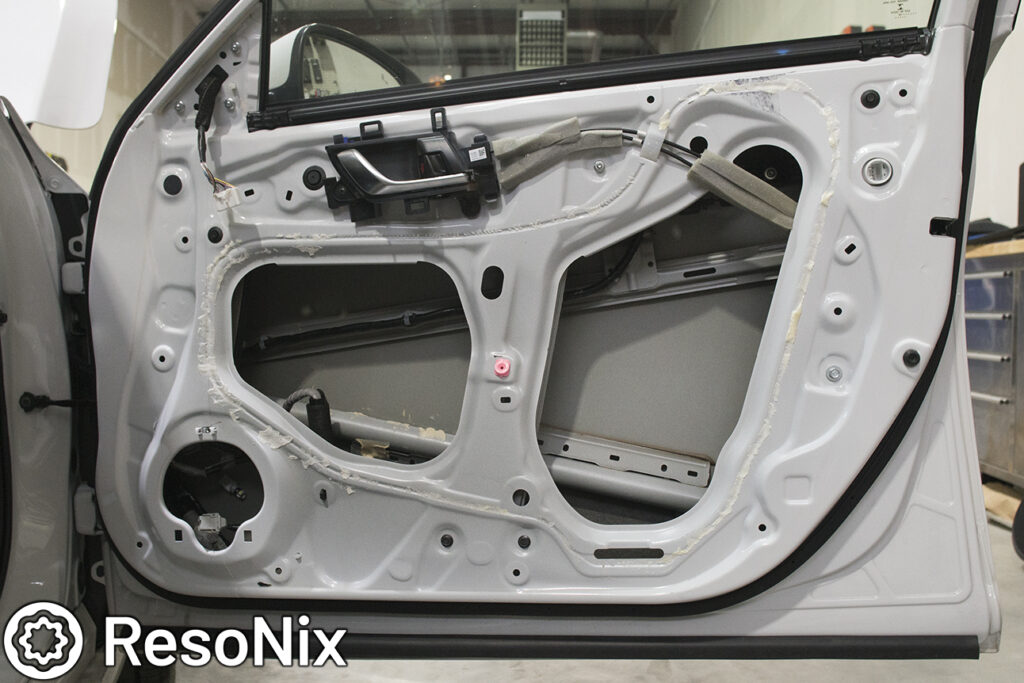
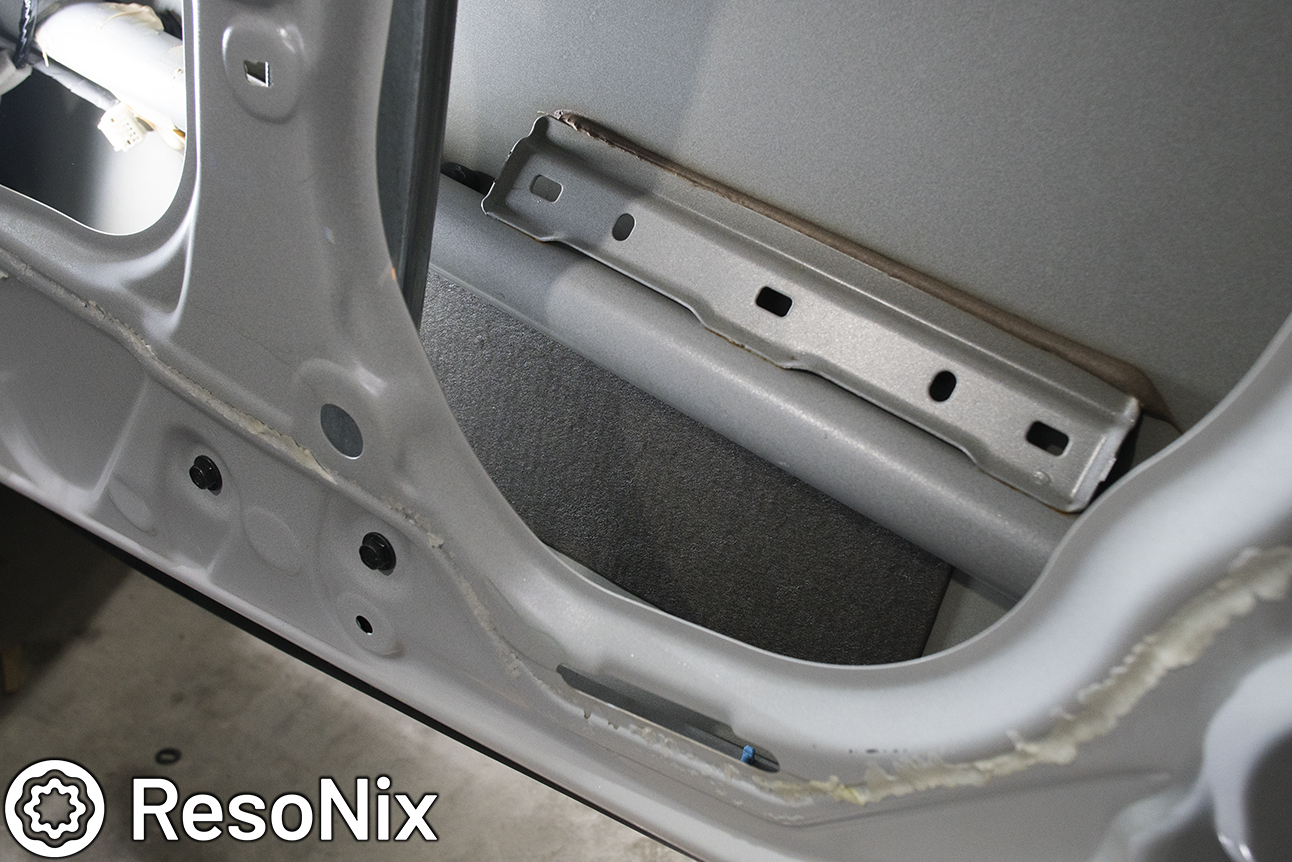
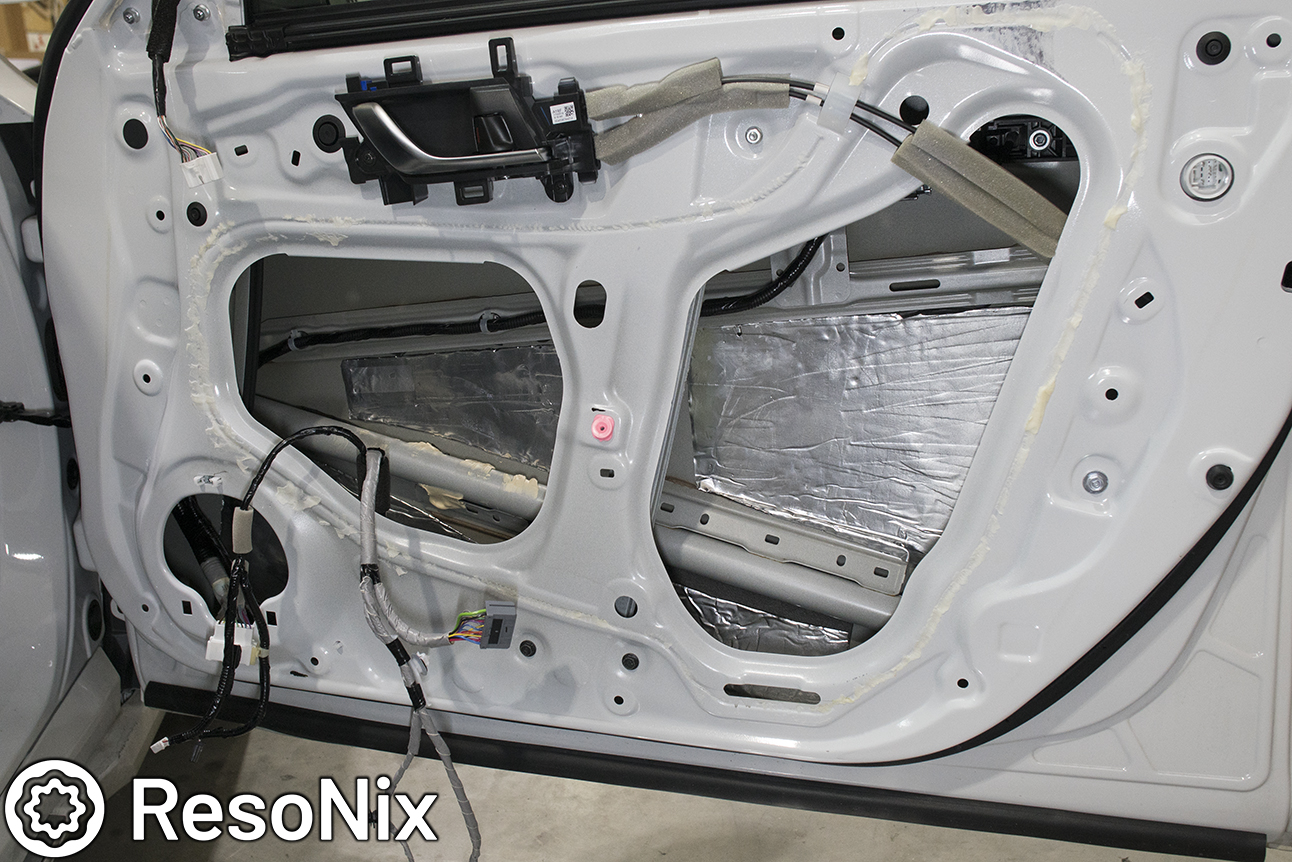
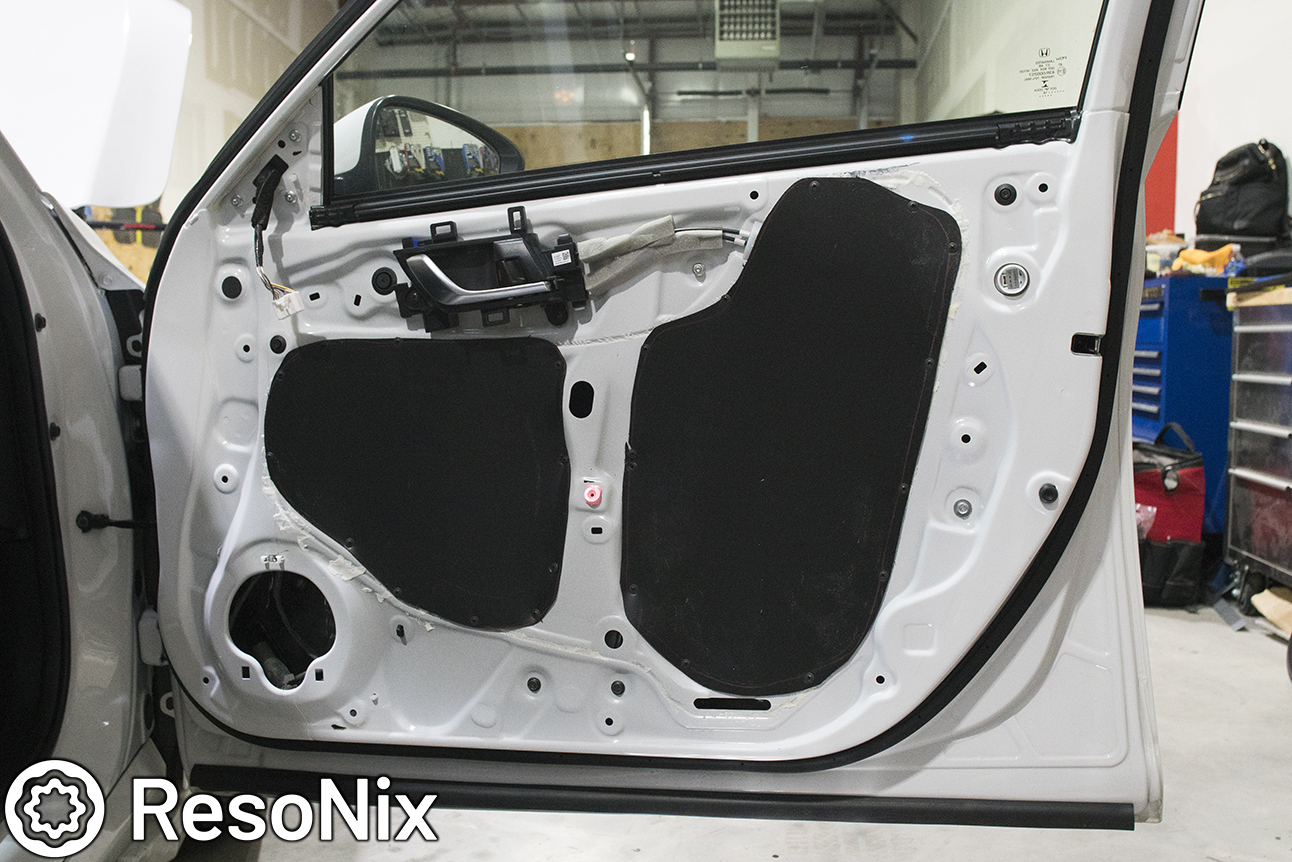
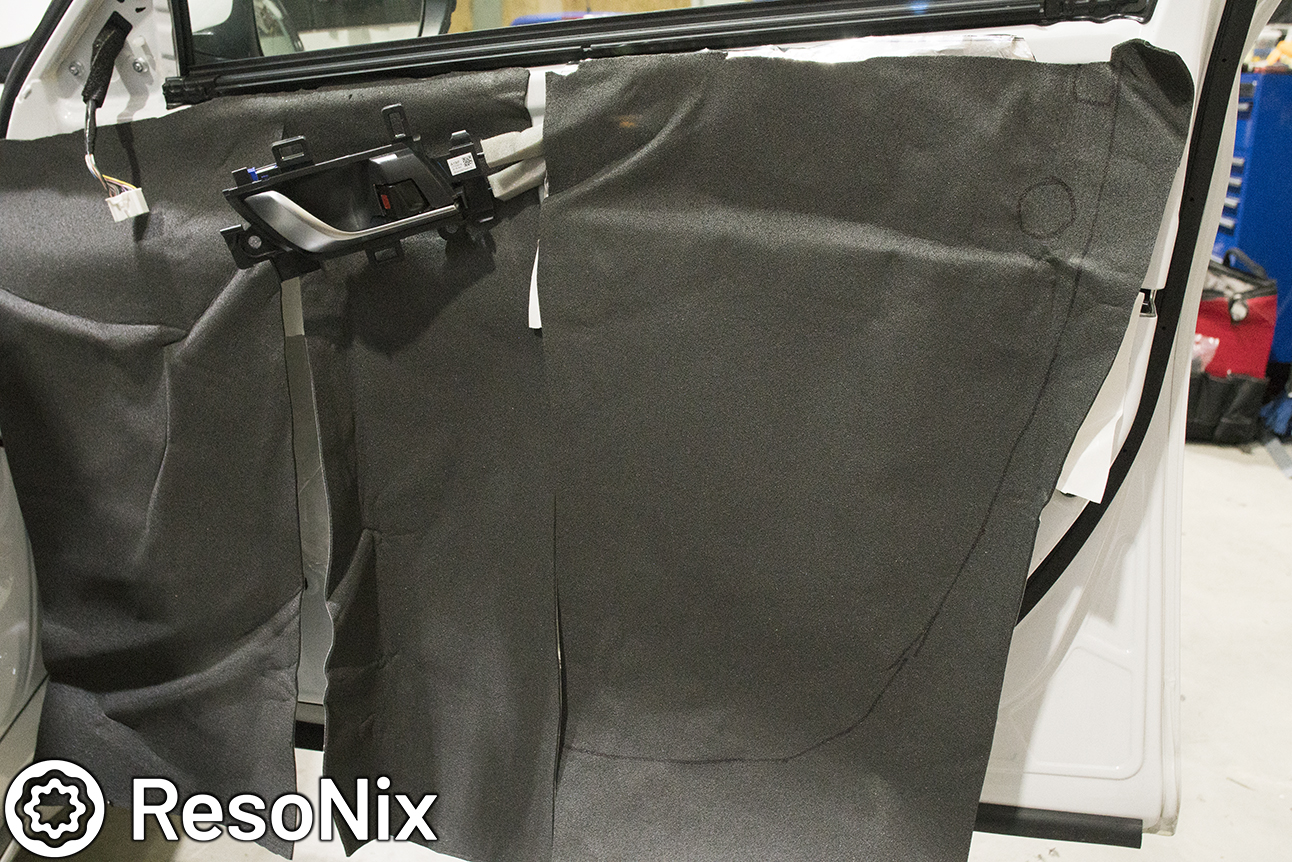
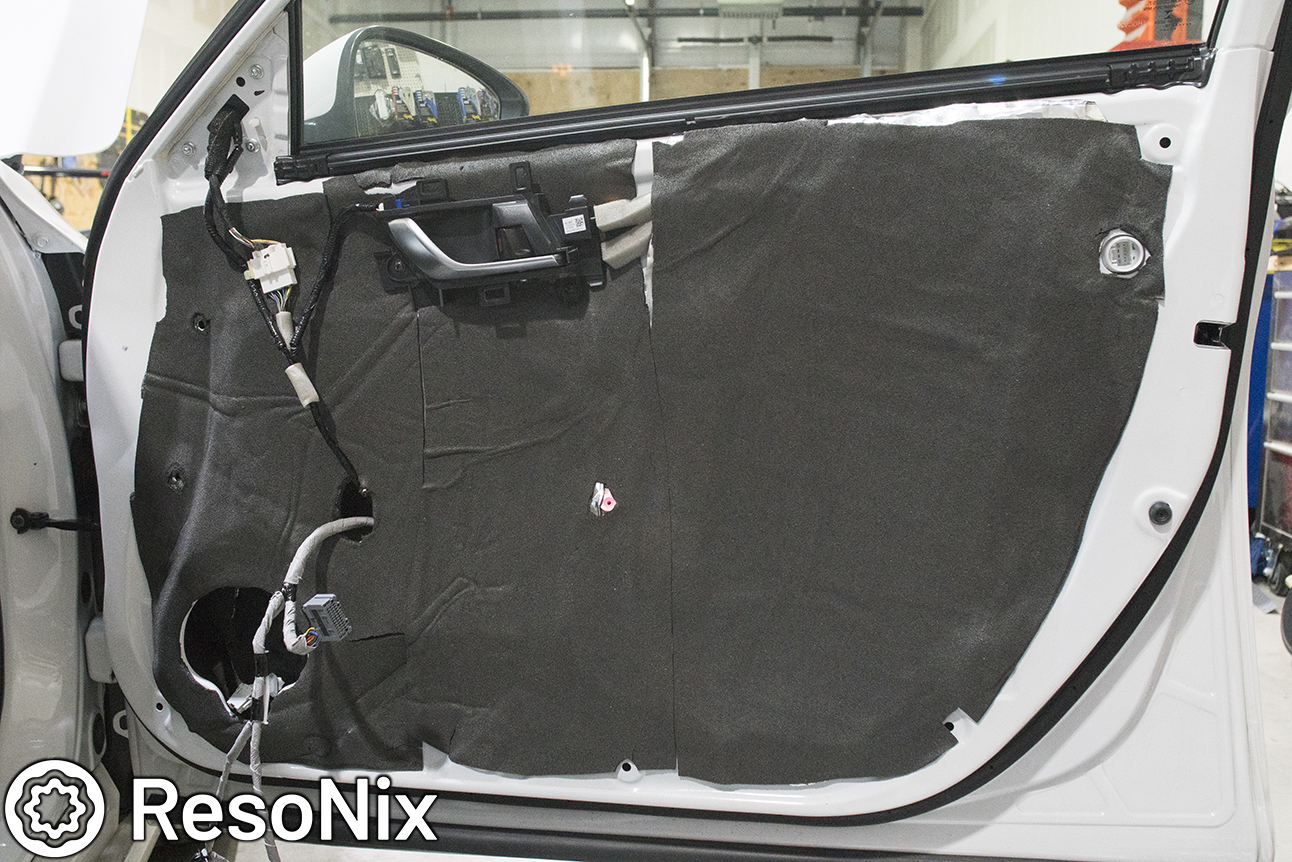
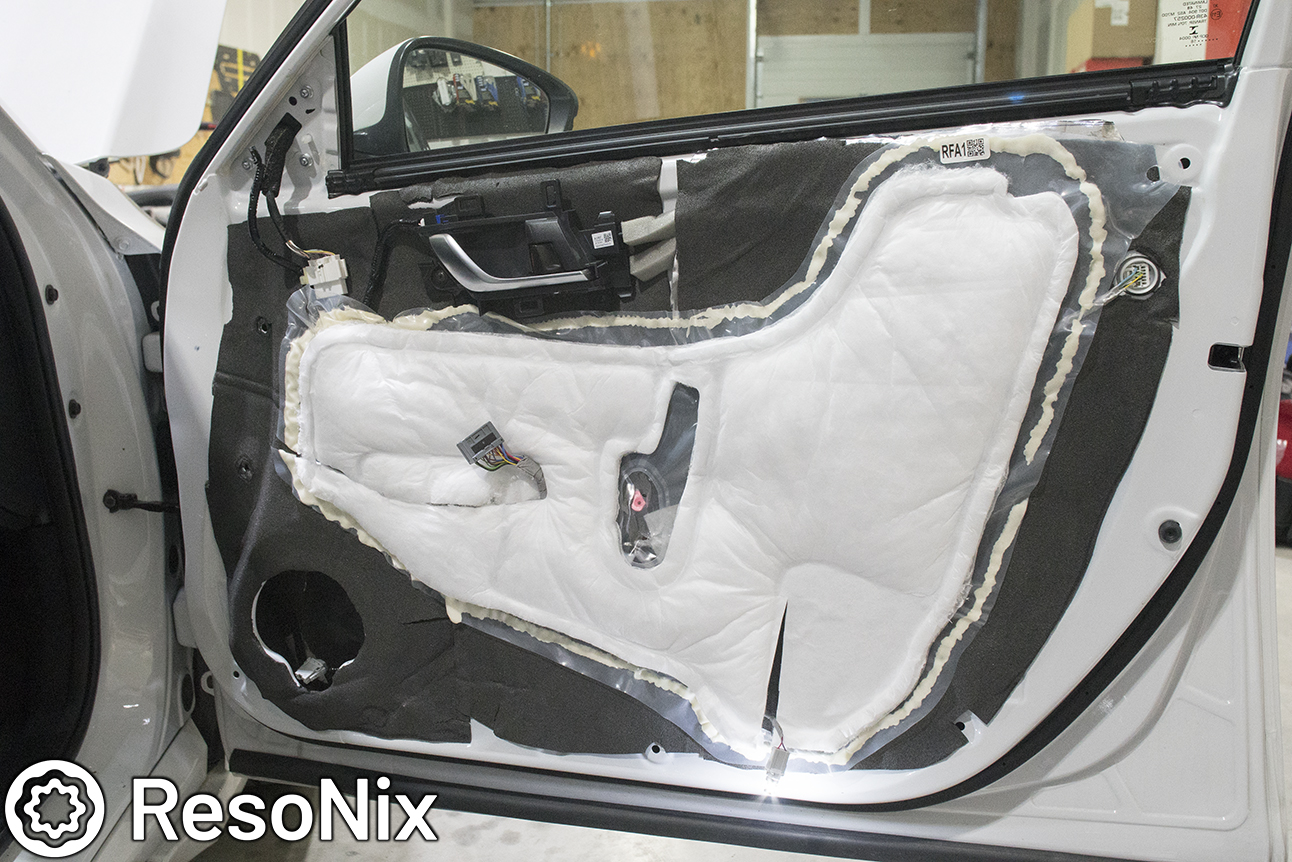
After the outer door skin is finished, let’s move onto the inner door skin. The inner door skins can be a bit unpredictable from vehicle to vehicle. Outer door skins are pretty much always long and flat. Inner door skins, not the case. Some are flat and easy to work with, some have a bunch of curves and bends in the sheet metal, some have wires all over them, and most have large holes in them as well. Some are even made out of plastic or composite materials. If they are large and flat with not much natural damping, stick to the ResoNix Squares. If not, some more careful thought and planning should go into it. If the panel is already naturally damped (knock on it with your finger. Does it resonate or is it solid?) If it already has some form of natural damping due to its shape and curvature, stick to ResoNix Rectangles unless you are after the absolute best performance regardless of price. Just know that diminishing returns do exist. Again, use the largest pieces you can. It’s better to have one large piece as opposed to multiple smaller pieces that cover equal, or even more surface area. The largest problem with inner door skins is the large holes that are there to service anything inside of the door. For optimal midbass performance, we need to do our best job at sealing these holes to prevent cancellation from the rear wave of the speaker interacting with the front. If the holes are large (over 1 square foot or so), its probably best to use something hard like acrylic, fiberglass, abs, etc. to seal up the holes and use a CLD over them. If the hole is on the small side, it is perfectly fine to use a CLD over the hole to seal it.