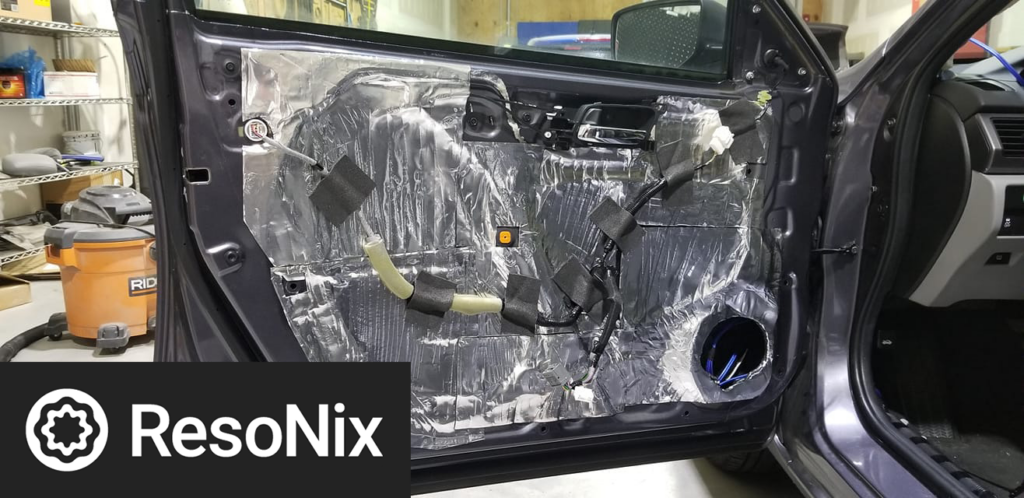
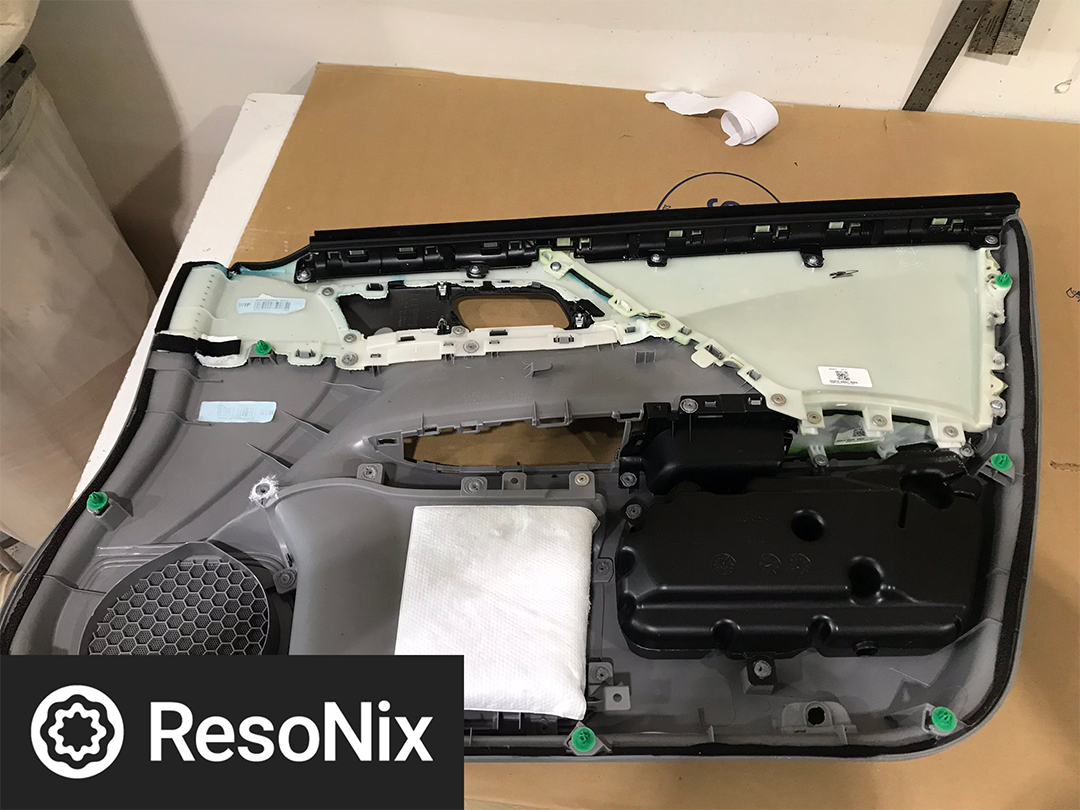
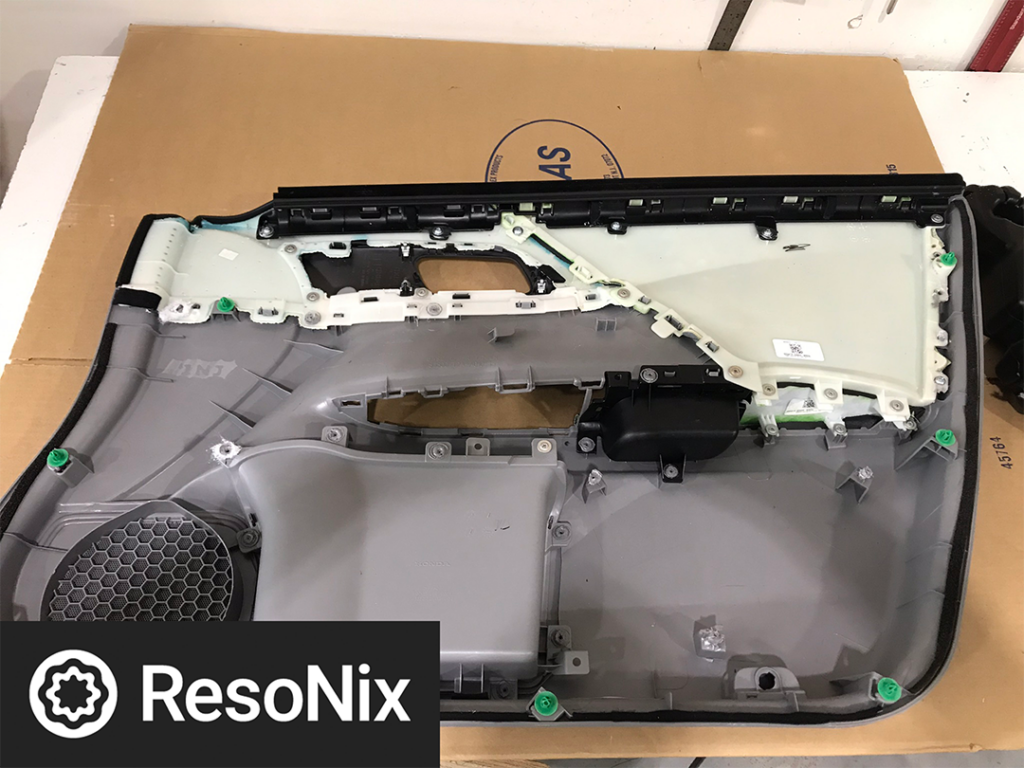
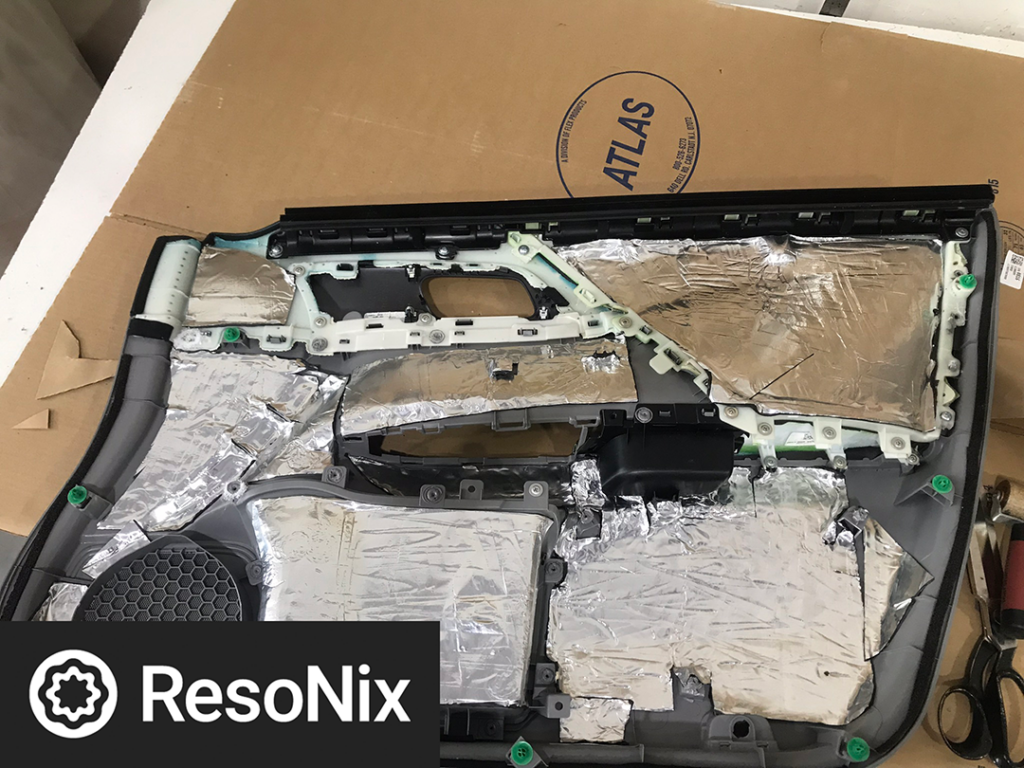
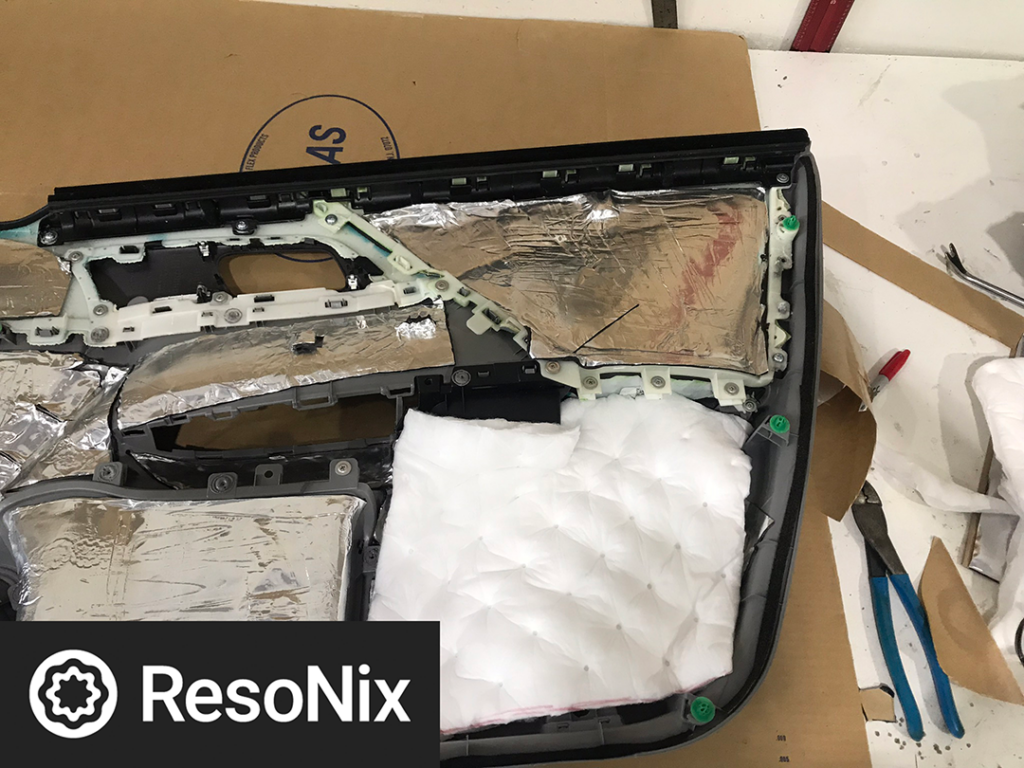
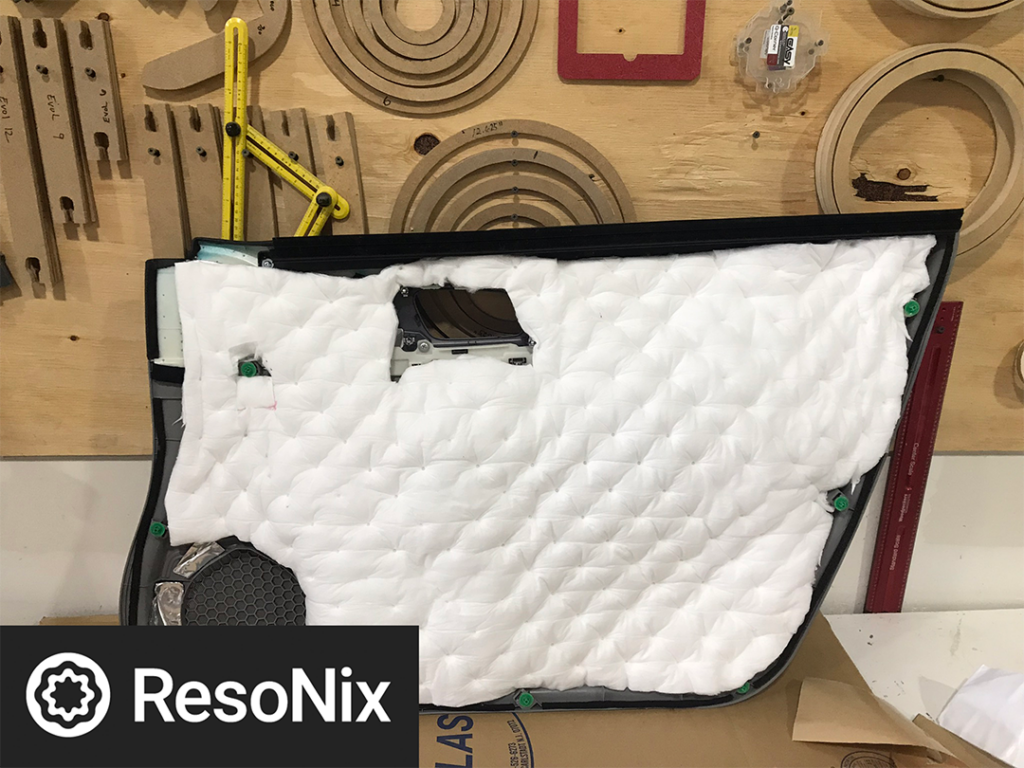
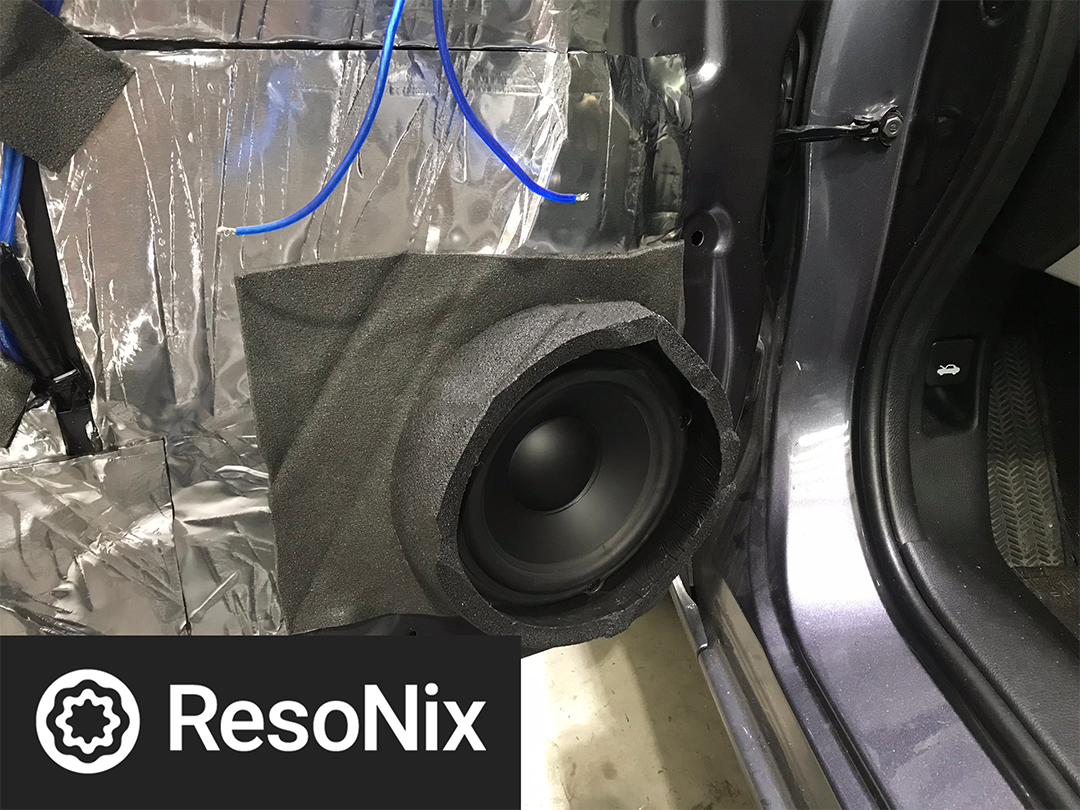
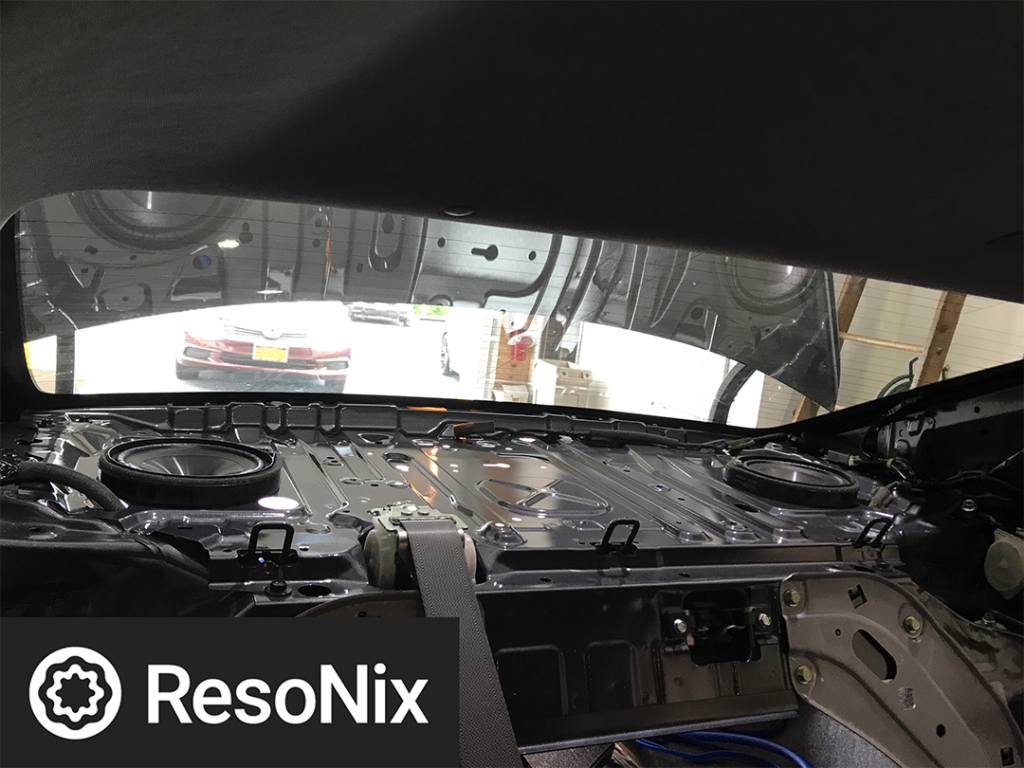
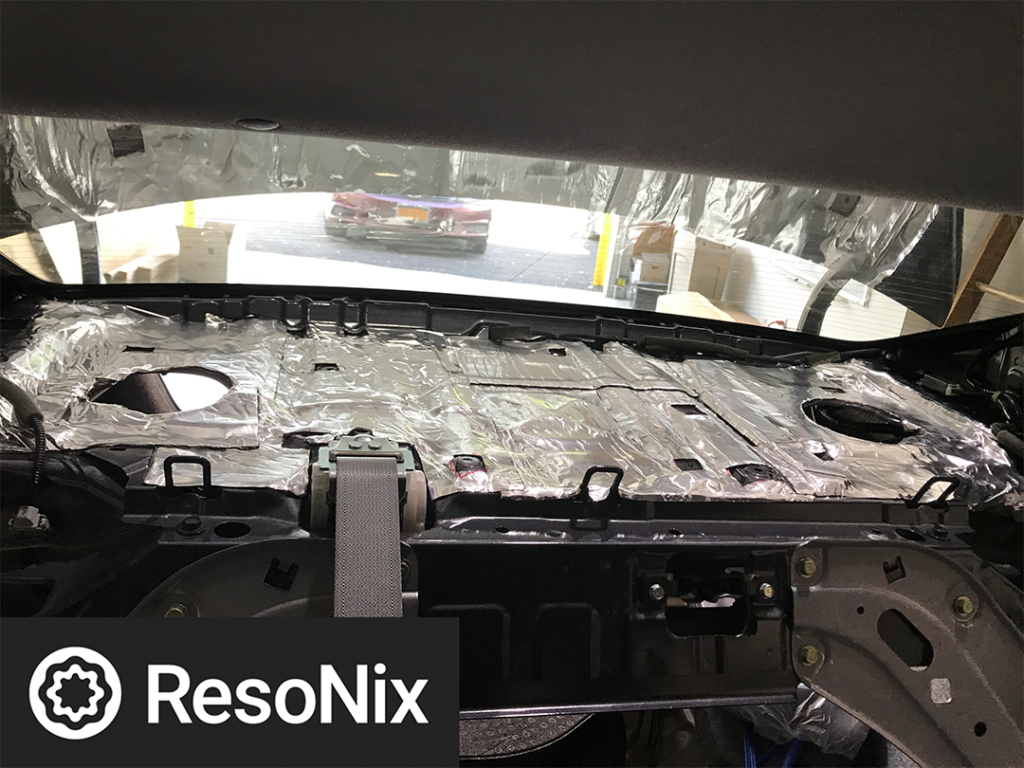
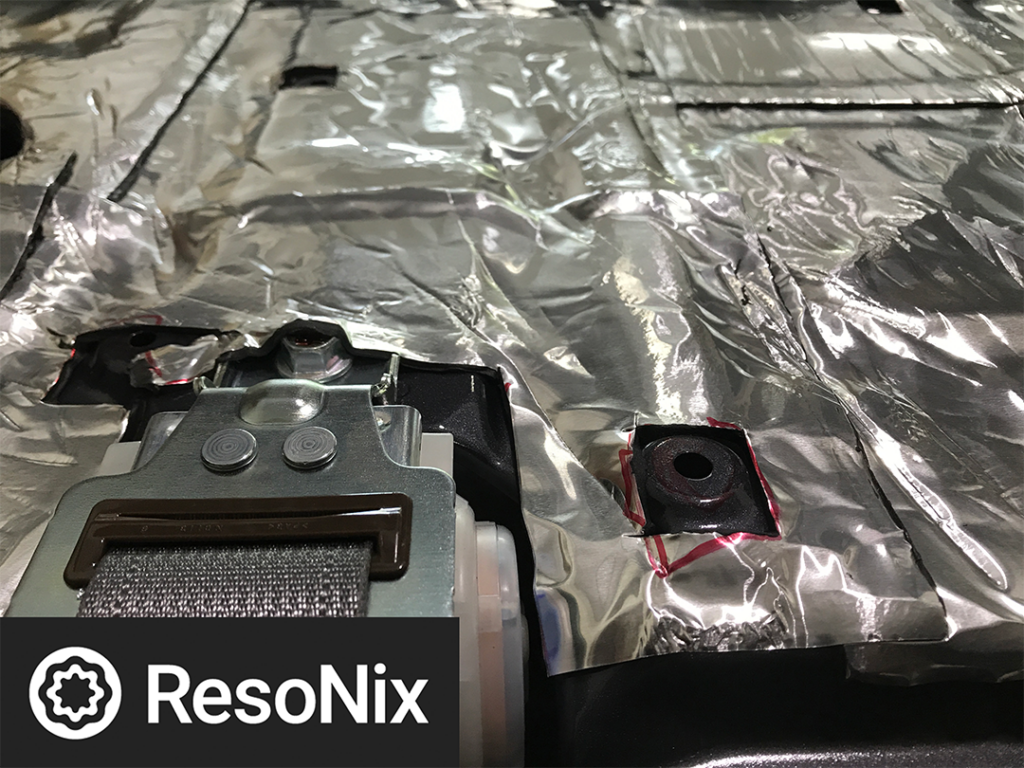
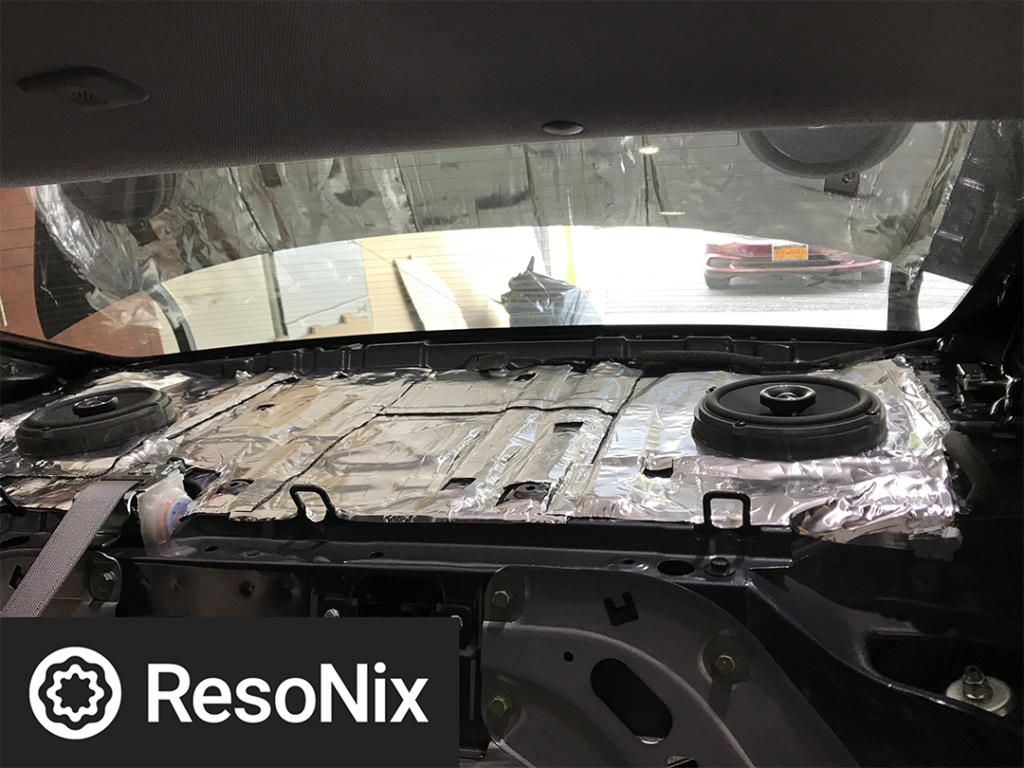
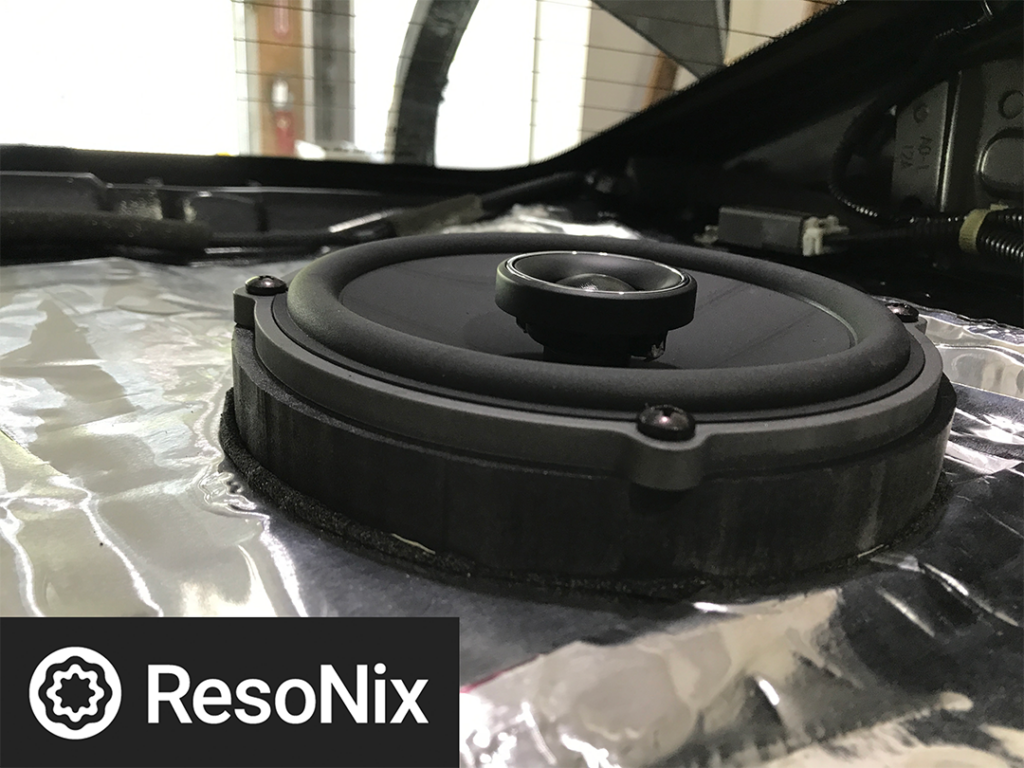
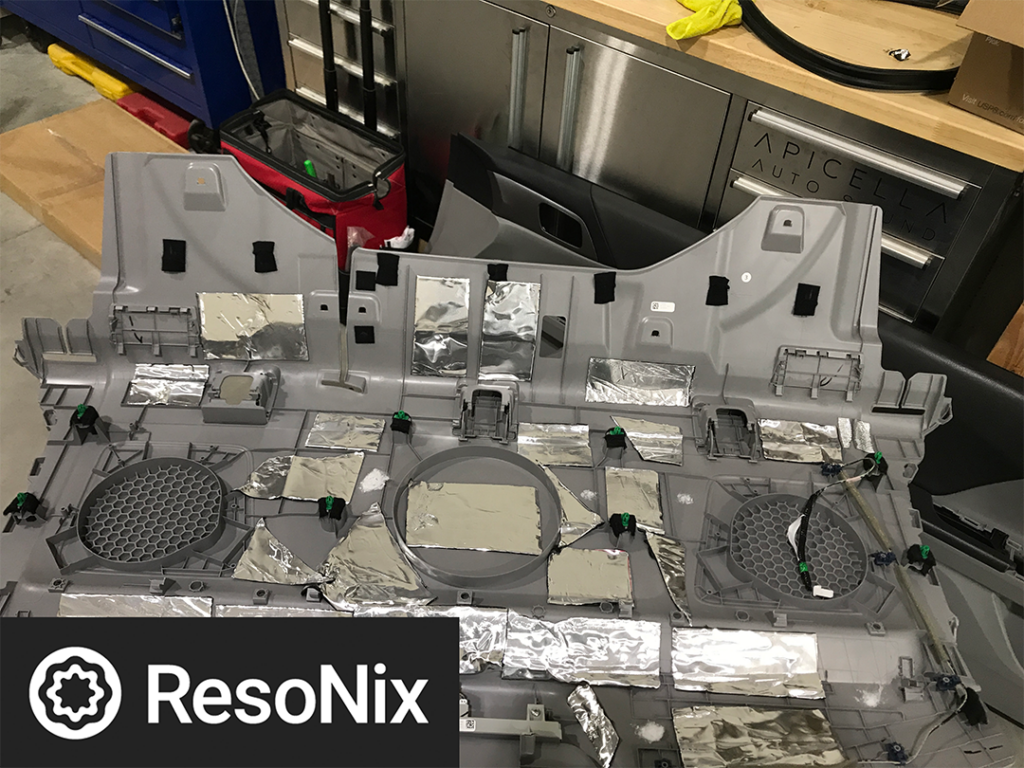
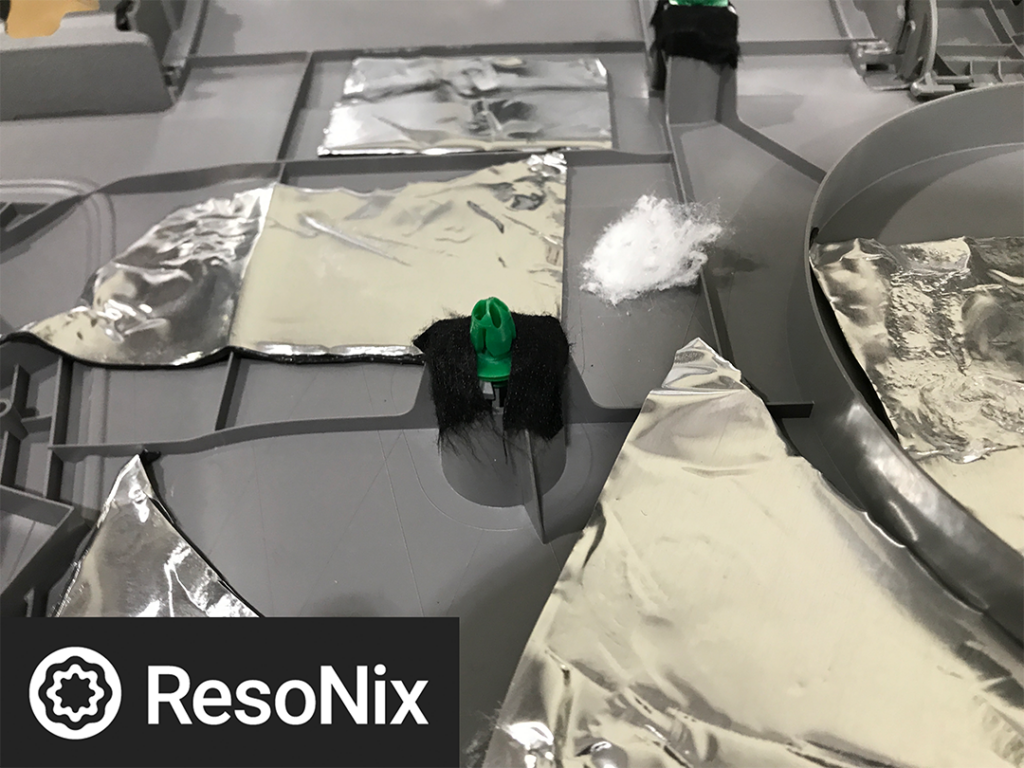
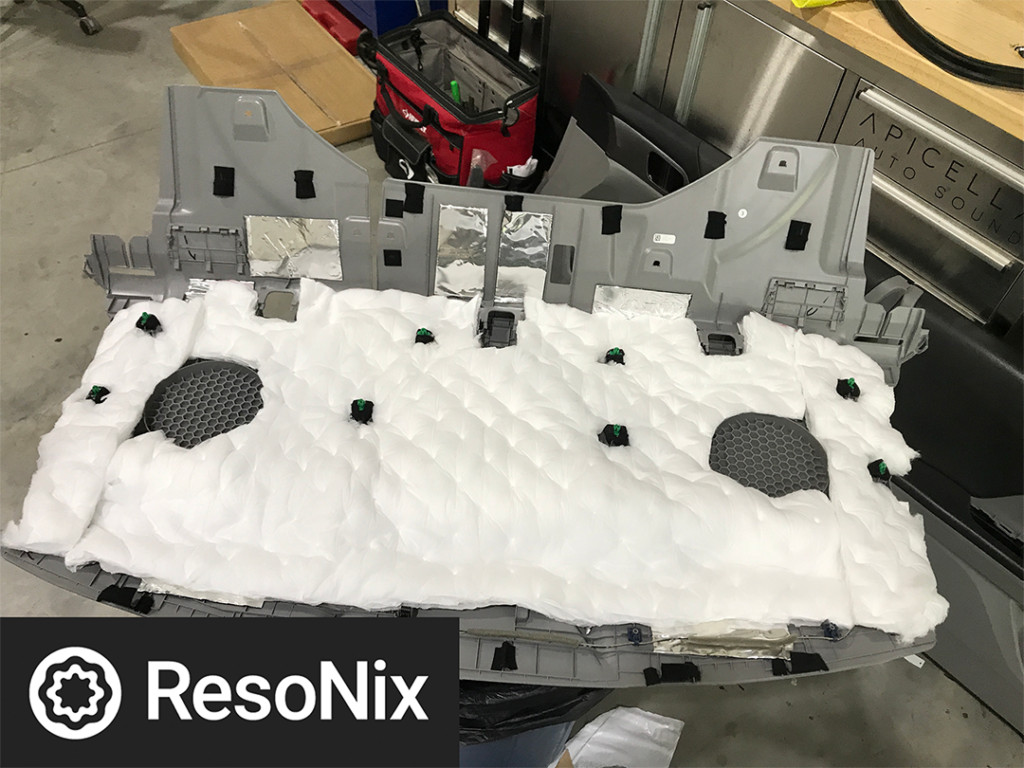
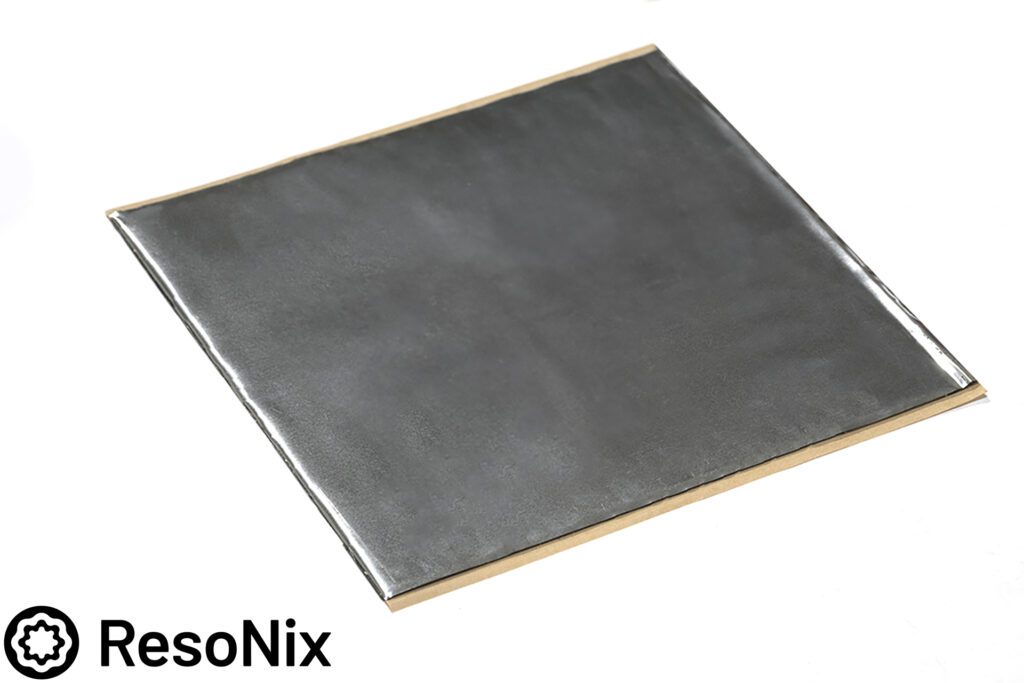
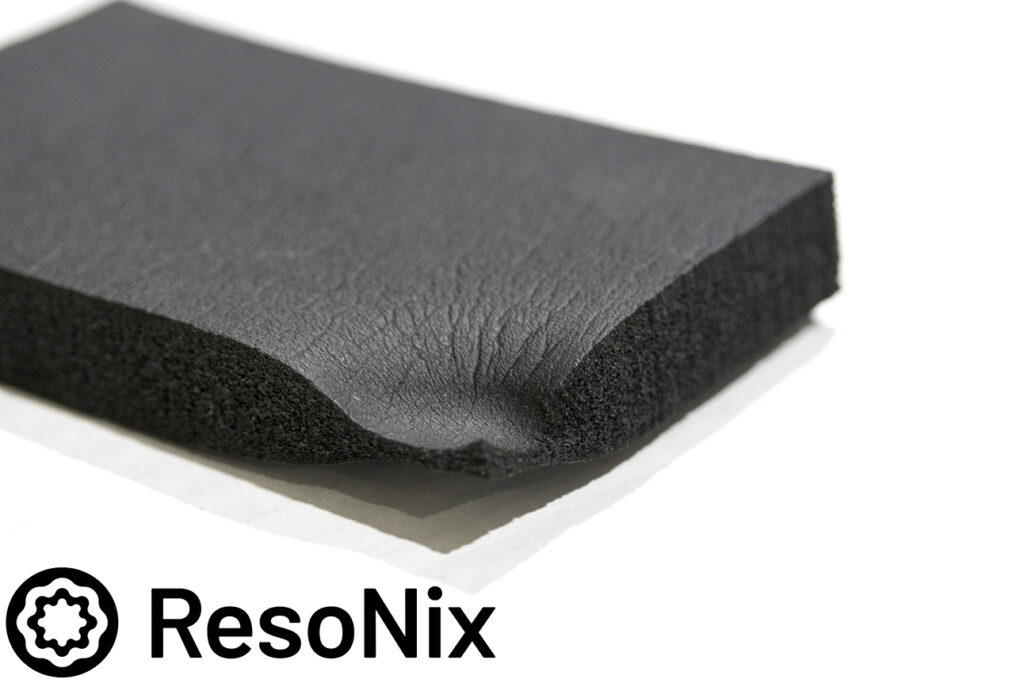
2013-2018 HONDA ACCORD (NINTH GEN.): DOORS, REAR DECK

2013-2018 Honda Accord Sound Deadening

For this Ninth Generation 2015 Honda Accord, we did an above average sound system and did a Stage 3 sound treatment package on the doors and rear deck. Here is what we did.

**Note: We highly recommend a high level of sound treatment, such as what you will see below for the front doors of this vehicle. After doing multiple Honda Accords and Civics of this generation, I have come to the realization that it is VERY hard to get accurate midbass out of the OEM door location due to excess amounts of rattles and resonance. This is the only time I have gotten a Honda Accord or Civic of this generation to have no noticeable resonance or rattles in the front doors without moving the midbass drivers to the kick panels.

Products used – Front Doors

Products used – Rear Deck

First step is to remove the door panel. To do that, leave in the two screws that are behind the door latch (dotted circle in yellow). The door latch housing removes from the door panel itself and stays attached to the inner door skin. To remove the door panel, remove the trim panel circled in red and remove the screw that resides behind it. Pry up from the area that is at the “front” side of the door, shown in the second picture.
This is what you see once you remove the door panel. Since this was a Stage 3 install, we discarded the OEM moisture barriers.
Here you can see the outer skin. Our Stage 3 package includes full coverage of the outer skin, as well as overboard spot treatment of the inner skin, which in this case was also full coverage after sealing the holes with 3/16″ ABS plastic.
Butyl Rope (coming soon) inserted in between the crash bars and the outer door skin. This helps provide more structure to the outer door skin and lowers resonance of the outer door skin panel.
100% coverage of the outer door skin using ResoNix Squares. After the outer skin was covered, we applied acoustic absorption tiles that are sold by another company. We may look into making these in the future, but they are not super important for us right now. What these do is help absorb the rear wave further preventing resonance. We used 20 per door.
Once the outer door skin was taken care of, we sealed the large holes of the inner door skin with 3/16″ plastic. A heat gun can be used to help to get it to properly conform to the panel. Before they were installed, we applied Squares to the back side to further reduce resonance on them and sealed them with strips of FD1. You can also seal them with butyl rope, or any CLD if you can get the gaps tight enough, or just deaden over the edges.
Once the inner door skin was fully treated, we moved onto the door panel. We opted to use a sample of the Fiber Mat that we will eventually be offering instead of closed cell foam. Here is the back of the door panel right after we removed it.
We removed the black piece towards the right side of the door, and the small OEM fiber mat in the lower center section. Once those were removed, we hit all applicable areas with our Squares.
Once the door panels were treated with the ResoNix Squares, we moved onto treating them with some of our samples of the Fiber Mat we plan on releasing in the future. This job sealed the deal with we will be moving forward with this product. It works extremely well as a decoupler and has added benefits of absorption. The samples have an automotive grade adhesive on one side, as will our production model. First, we stuffed the lower corner, then covered the rest of the door.
ResoNix Fiber Mat
ResoNix Fiber mat
Before we re-installed the door panel, we fabricated the baffle to house the Audiofrog GB60 midbass driver, secured them to the door, and used closed cell foam to seal them to the door panel.

Onto the rear deck…
Unfortunately, we did not get any un-installation photos to give you a guide, but im sure there is a how-to on getting the rear deck out for this vehicle. Once you get the rear deck off, you will find a bare sheet of metal with two speakers. Once we removed the OEM speakers, we used about 6 CLD Squares to treat the rear deck for resonance. Once we finished that, we created the baffles to house the Audiofrog GS62 coaxial drivers. After we installed those, we moved onto the rear deck cover panel. We spot treated with CLD Squares and finished the job off with more of the Fiber Mat samples, and then reinstalled it all.

Installation Products

CONTACT

LINKS